
This was a privately built layout not part of a club project. our first venture into exhibition layouts taught us a huge amount
We are still very new to the exhibition scene. We exhibited our first layout for about 4 years. It was always in a state of construction, but we always had something new for every exhibition and always kept to our ethos of being there to entertain the public who were there to see trains running!
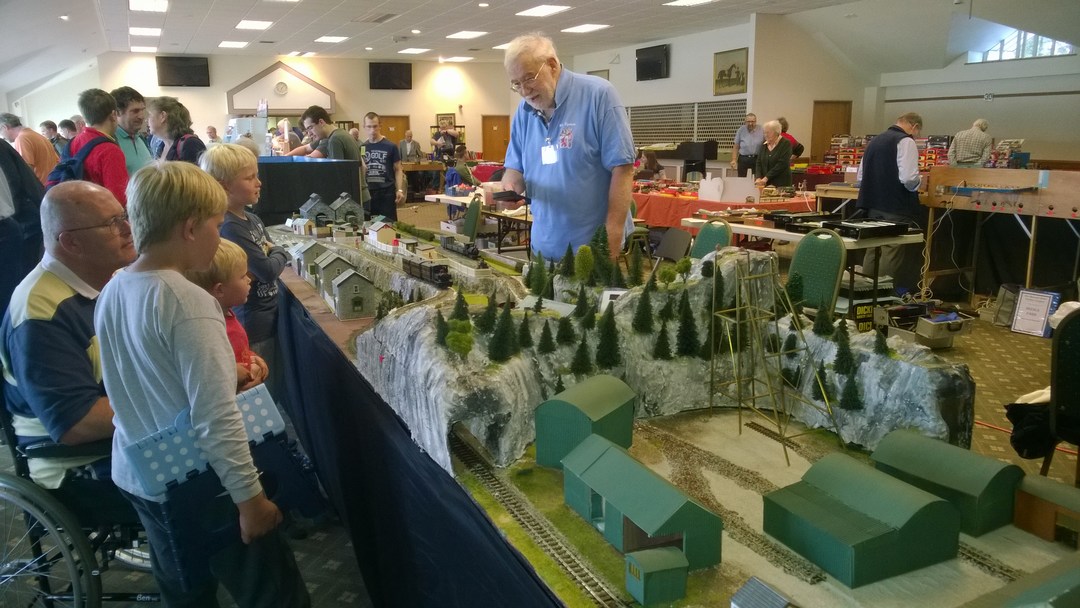
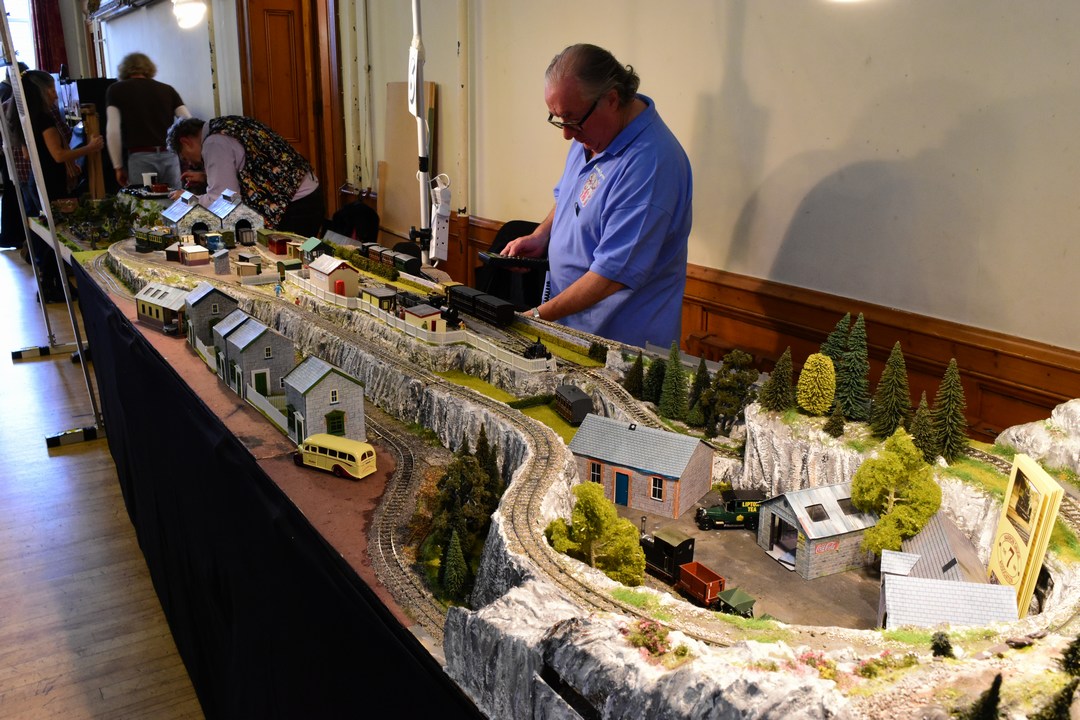
The Layout is titled ‘Blas O Cymru’ (a flavour of Wales). It was a large Welsh narrow gauge tourism layout in a scale commonly known as 0-16.5 or 7mm on 16.5 track. The Layout consists of 4 boards totalling 16’ x 2’6” and with the trestles took up 17’ of space.
Being new to the game we felt quite excited at the prospect of taking our layout and putting it under examination of those more skilful than us.
2016 is our third full year and I quite expected a few more invitations by now but we have exhibited at M5/M50 open day in 2013 at the 7mm Association AGM in Burton on Trent In 2014 at Swindon 2015, Welshpool 2015 plus our own society’s 2 events each year.
My train room is only 13’ long so at any one time I can have 3 of the 4 boards up.
Building the boards
At the time, our method of building baseboards consisted of making a flat base, laying the track and adding basic scenery. with hindsight, this is where we made the first of our many mistakes with this layout!
To start with, having the track laid in this way meant that all the point motors had to be above the baseboard either with motors or wires in tubes (both solutions were used on the layout.) it quickly became clear that the short wheelbase locos that we were running really didn't like the insulated frog points so most of them were swapped very early on for electrofrog points. But without switches on the point motors we were limited to having to switch the point and then flip a toggle switch to change the polarity of the frog. All trackwork was Peco.
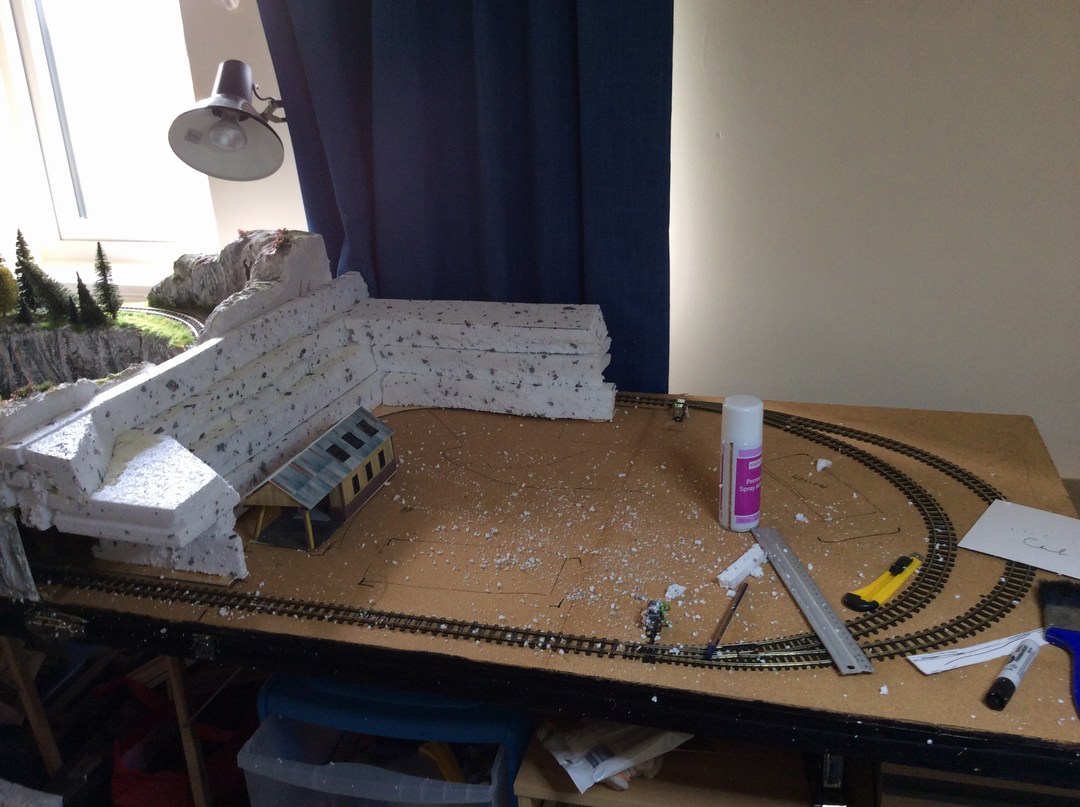
The next mistake was to use polystyrene for the scenery. This was fine when it was new, but the slightest bit of damage really stood out and it quickly began to look a little tatty around the edges.
A ground covering was added and the buildings offered up.
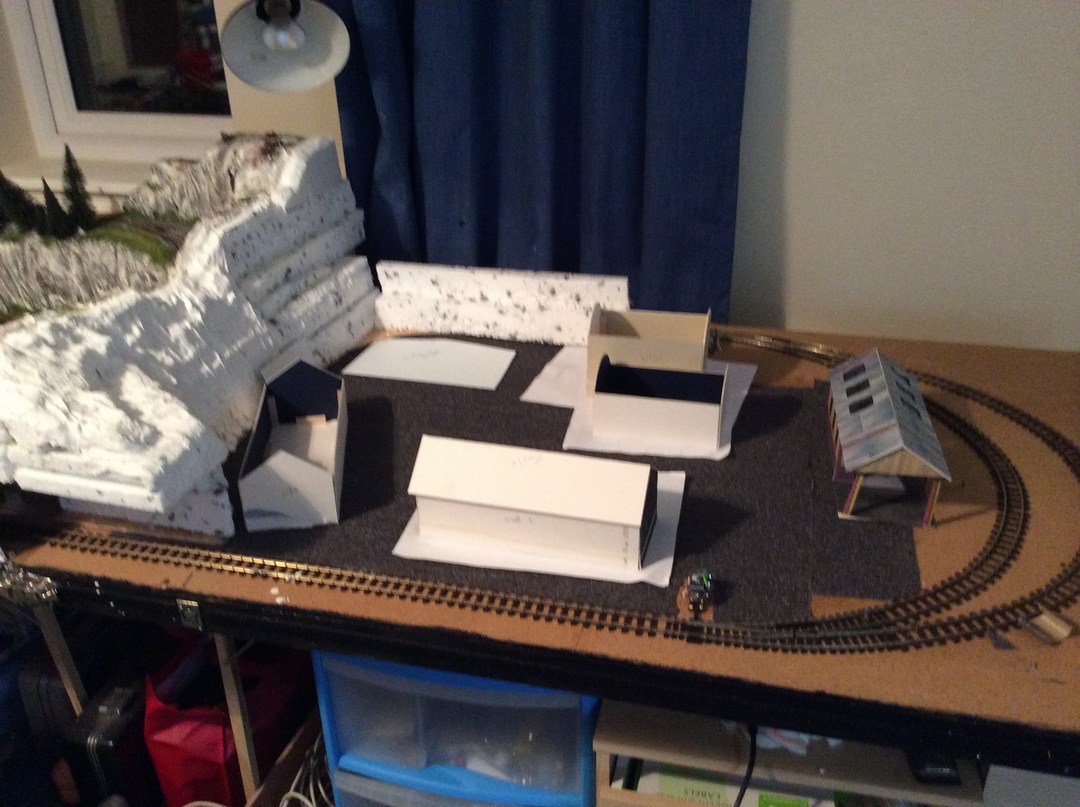
Finally, the buildings were finished and the plaster covering over the polystyrene was added. I was always particularly pleased with the grass around the scenery on this board!

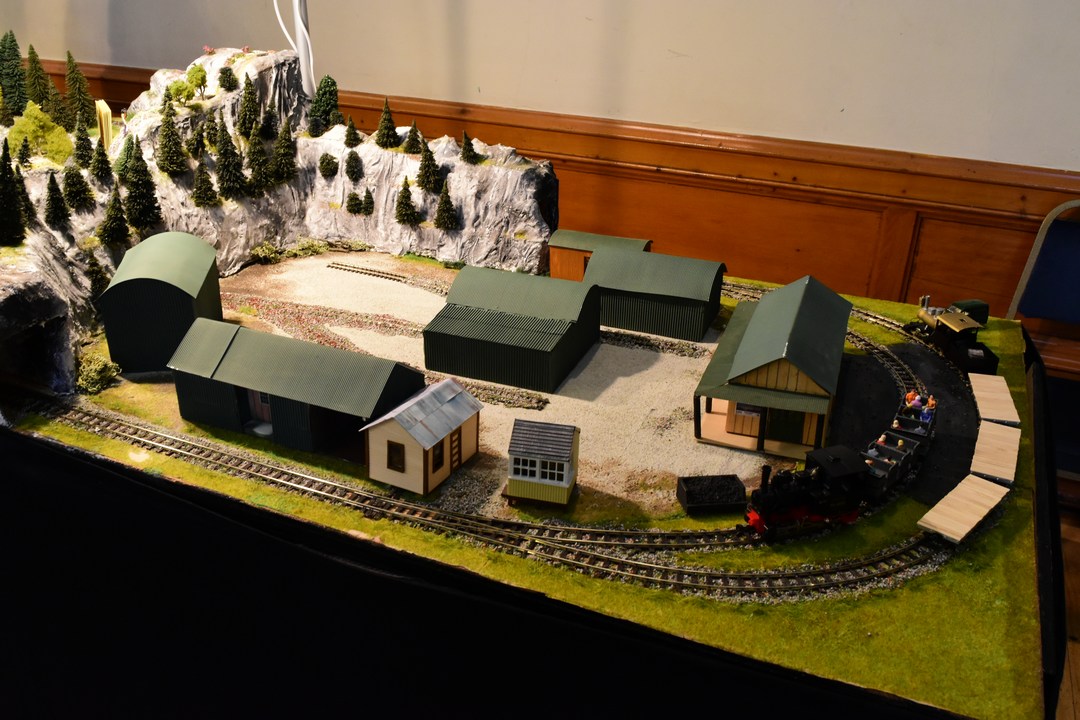
This board added an extra runround loop and a lot of interest to the layout. But it generated its own set of problems! the board wouldn't fit in the rack we had made to transport the layout so it had to be squeezed in! that meant the scenery had to be removed at the end of the day. it was fine to begin with but towards the end of the layouts life, it became more and more difficult to hide the join between the board and the polystyrene scenery.
Packing/Loading
It quickly became clear that were going to need some form of rack to transport the layout.
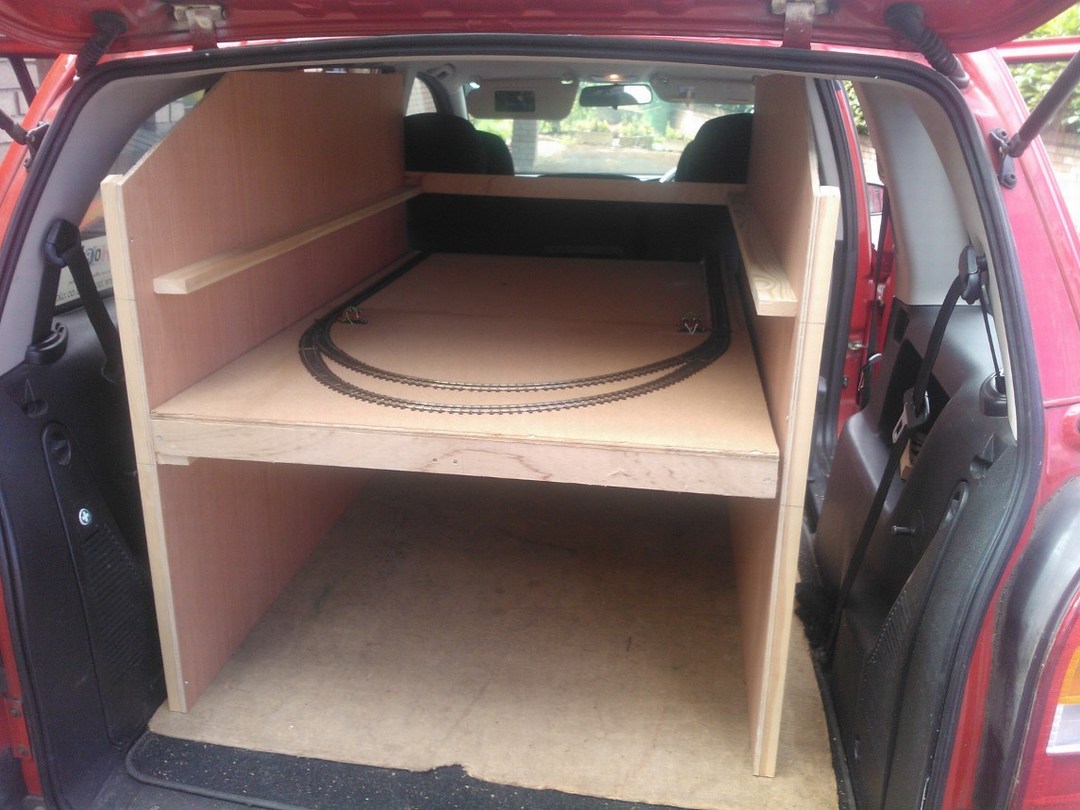
The Mk1 was designed to fit in the back of the car but as the amount of kit we took to exhibitions increased, a trailer became necessary.
This picture illustrates what I consider to be our biggest problem. We didn't just have to take the boards and the stock, but also the trestles to support it, the extension pieces that sat on top of the trestles, the scenery, the buildings, all the electrics were carried separately, It gradually became just too much stuff to transport. Our new layout wont reduce this but almost everything will be attached to the baseboards dramatically reducing the amount of trips backwards and forwards to the trailer!
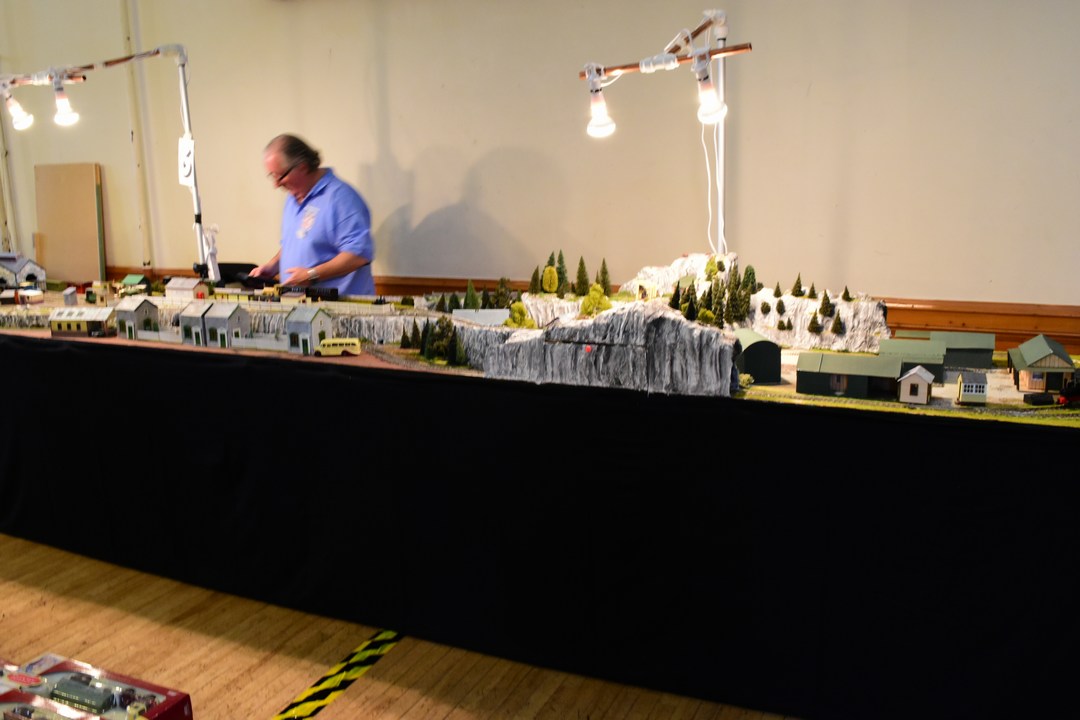
At one exhibition, we tried a little experiment with some lights. they were a bit Heath Robinson but they dramatically improved the look of the layout and really made it stand out amongst the others at the show.
This simple improvement gave us no end of ideas for the next layout!
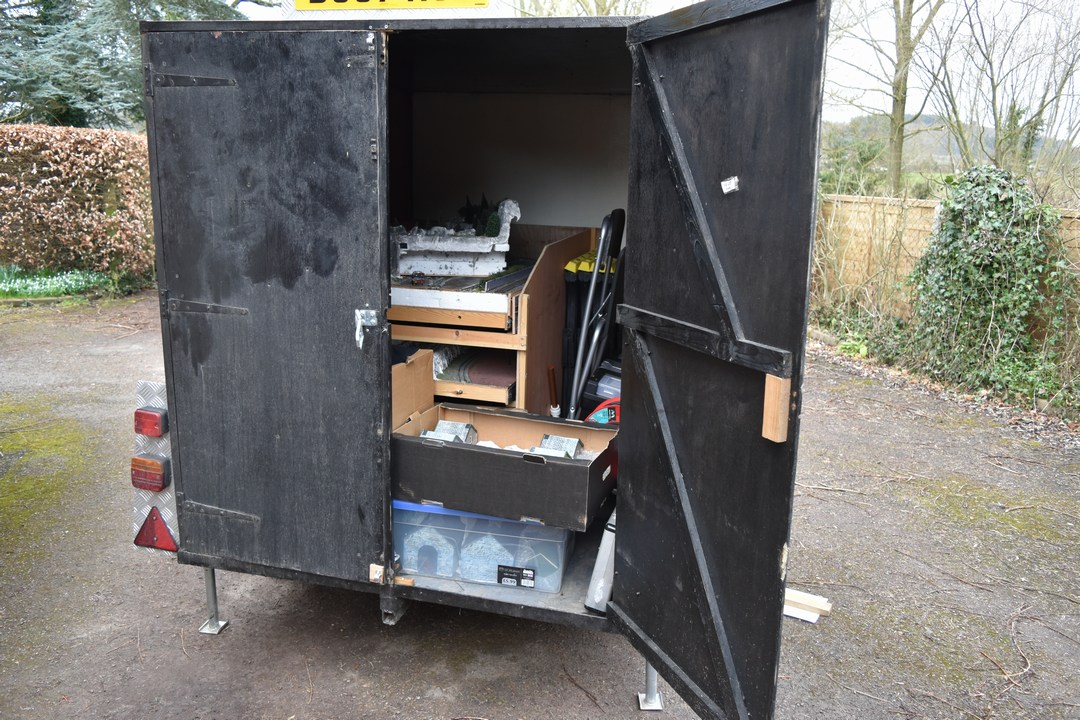
We have found it very necessary to have an extensive, detailed check list and a few days before an event I will locate everything on the list. This is then rechecked and packed the day before the event. We have a trailer for the layout now and this has a wooden rack. First of all this is a 2 person job. The baseboards are too long and unwieldy for one person. The layout fits very snugly and cannot move within the rack. The rolling stock, sheds and lineside stuff are packed in large polly boxes and packed alongside the layout together with the trestles etc. Oh and don’t forget the curtain. Then I recheck the list again. We never leave the engines in the trailer overnight as experience tells us that they get damp and are difficult to run early on exhibition day. Don’t forget to pick up the engine case together with refreshments next morning.
Unloading and setting up
As took approximately one and a bit hours to set up so we try to get in the evening before. Not always possible.
On arrival at the venue we would find the organiser, usually a nice guy, and locate our space and unload. Trestles first and put the layout on the trestles straight away. We then unpack the sheds, stations, rolling stock and lineside stuff and put them on the layout. We set up the DCC and try an engine to make sure everything is connected and we are not in for an unfortunate surprise the next day. Our current record for setting up is 1 hour 10 minutes.
Running trains
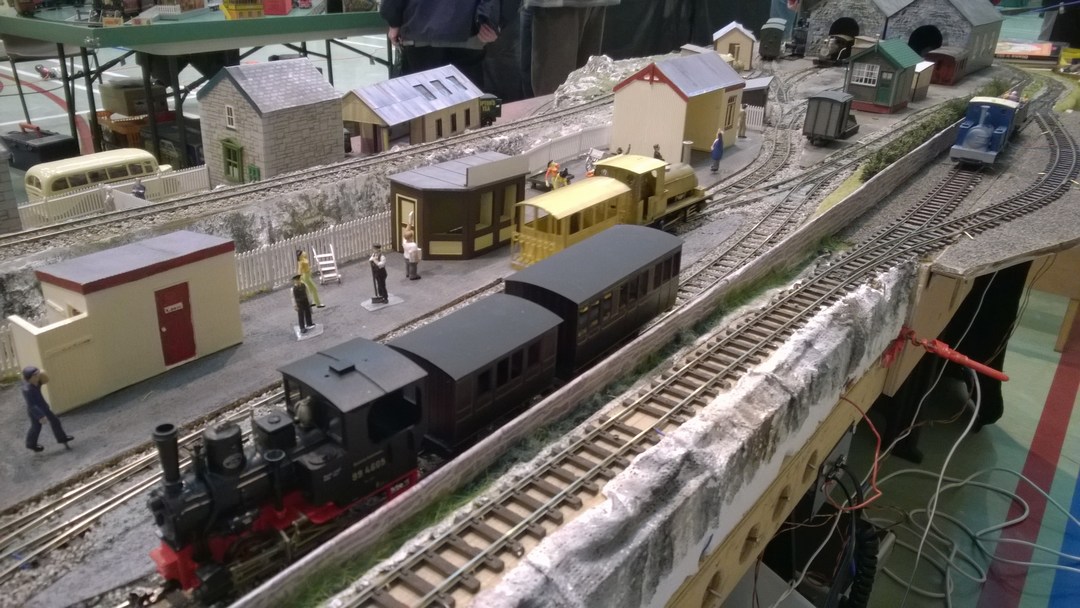
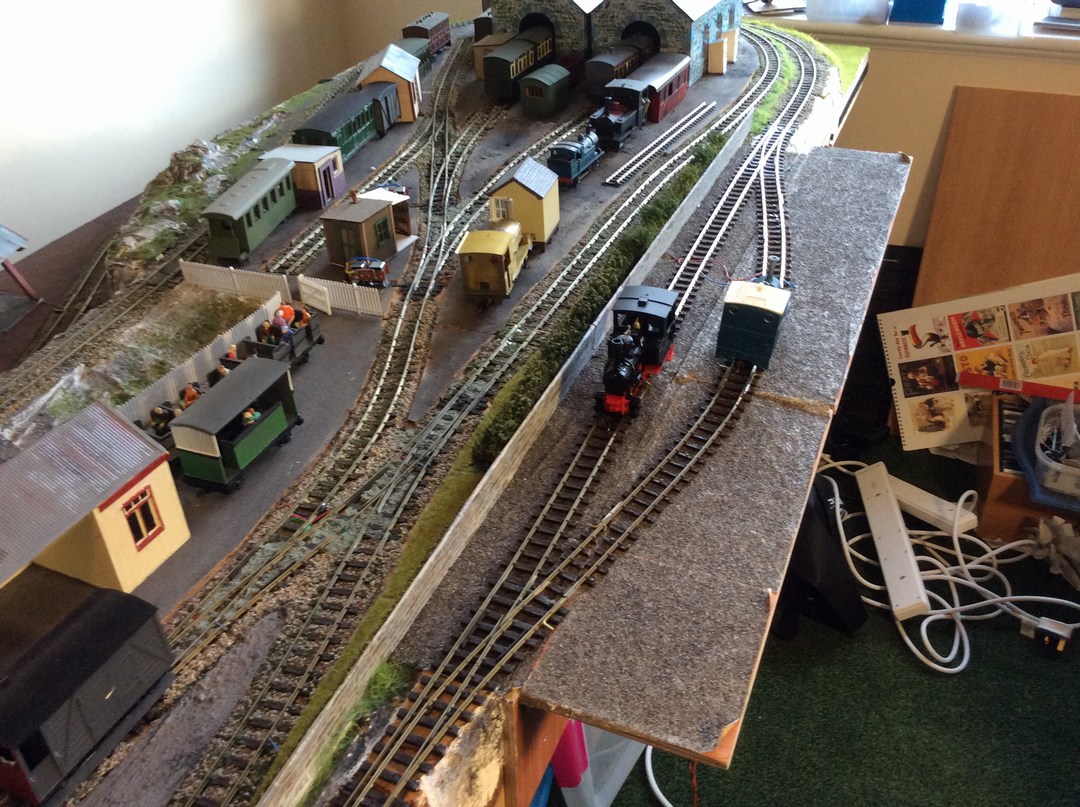
We have a policy that at least one train is on the move at any one time to maintain visitor interest. We don’t run to a timetable we have found that it leaves gaps in the running and there is nothing more boring than nothing happening on a layout. We try to vary the rakes of coaches and goods stock. People like to take photographs and variation concentrates their interest. We would normally had 10 engines on the layout which does not have a fiddle yard. I’ve never seen a fiddle yard in any Welsh station.
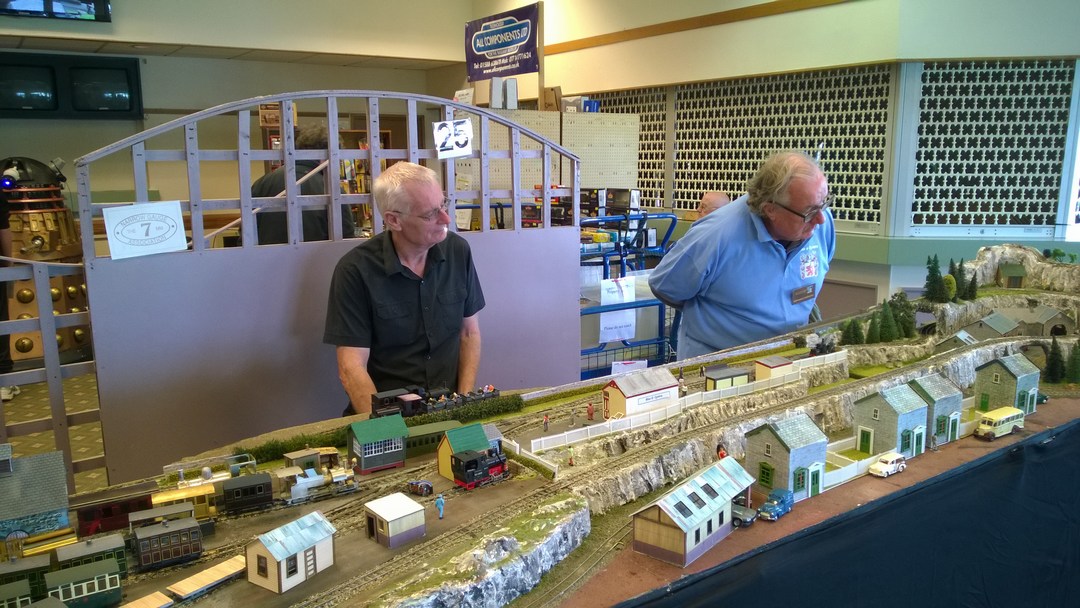
Why keep all your beautiful models hidden? We spend many hours hand-building our engines and stock, we like to keep them on display in the yard which can easily house 6 engines and stock. Everything is on display and quite often, because of the variety of our engines, provokes much discussion as to their origin and how to build them.
We did hit a small problem at our first exhibition. it became very clear that the layout needed an extra loop so this was bodged onto the back of the layout on a hinged flam! again, we have learnt by our mistakes!
We welcome all discussion. If a visitor wants a bit of time we can easily leave an engine and carriages going round or maybe 2 or 3 tail chasing. Oh the joys of DCC. If the exhibition organiser says finish at 4:30 we will have a train running at 4:30. We don’t believe in short-changing late visitors. It’s also a good opportunity to run the layout in full.
DCC
Having been in model railways for around 30 years in one way or another I suggested to my son that maybe we should look at DCC for our working electrics. He did some research and the result is we use the NCE system. We find it quite ‘user friendly’ and readily expandable. The move to DCC has been quite painless because all our engines are hand-built and the decoders are built in. Because we don’t run to a timetable very occasionally we find 2 trains heading toward each other. But it’s quite easy to get out of these jams as we have 4 passing loops on the layout. This often happens when we have guests to help us. It all adds to life’s rich pageant!
Packing up
It is quite easy to rush packing up and damage engines or stock so we are very careful how we repack everything. Most of the buildings and stock are examined as we pack to see if repairs are needed. Reloading is much the same as loading in reverse but often being tired we try not to rush, then make for the nearest fish and chip bar!
Our record for packing is 35 minute (car only 10 Yards away!)
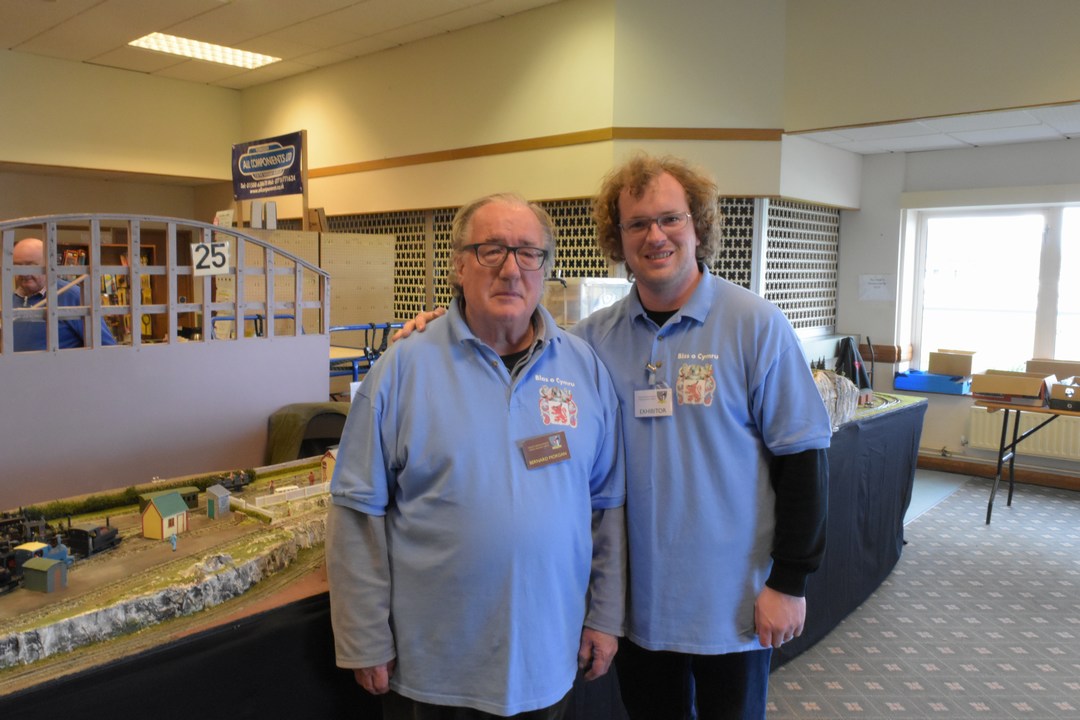
Peter and Bernard Morgan