
I built a Victors kit for Sandy River & Rangley lakes No.19 in HOn3 about 4 years ago. It went together beautifully. A real treat to build! I still have a full set of pictures from that build and I will do an article on it at some point!
But for now I have a new arrival! Victors has gone the way of so many of the various names in model railways but the kits live on through their designer Neil Sayer.
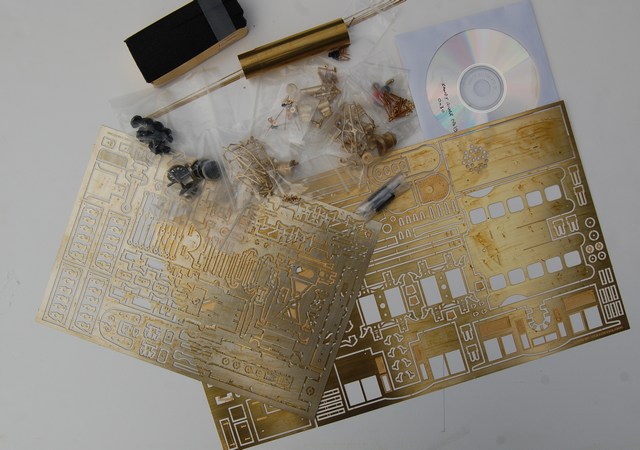
I haven’t had a chance to really sit down and go though the packets yet, but here is a taster for you!
UPDATE - 04/07/14
Well I have finally made a start with this one. I had one of those evenings when I was in the mood!
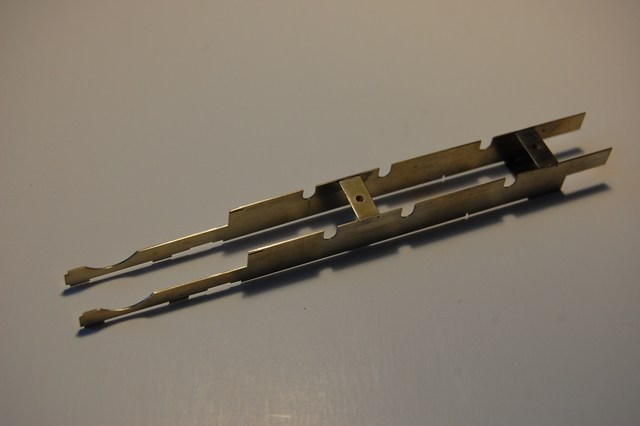
Most of the larger items have now been removed from the etch and I have filed the cusp off. this is a very simple but time consuming step but I think it makes such a difference to the final model and helps to make it look far more professional.
Well, I have made some real progress on this one!
Firstly I tackled most of the tender.
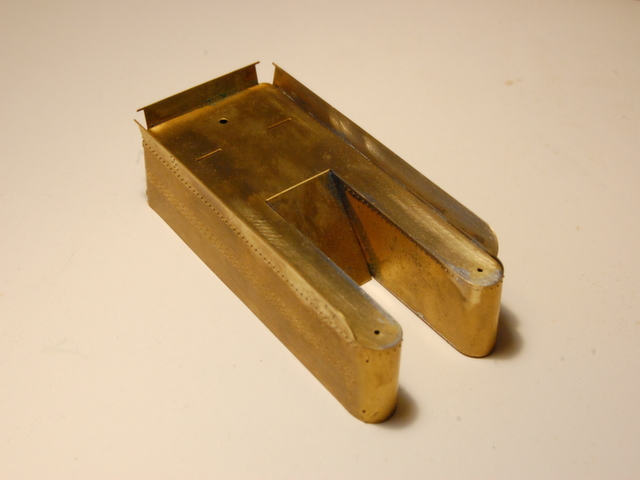
The first job was to bend the flares along top top of the sides. this job was actually made more difficult by the fact that it was pre-rolled.
when I did the HOn2 version, the tender was supplied flat. I just popped it into by big folding tool and did both sides and the back in one go!
For the larger scale version, the tender was supplied pre rolled which required some ingenuity! and about half an hour with various bits of angle iron and rulers and files etc...!
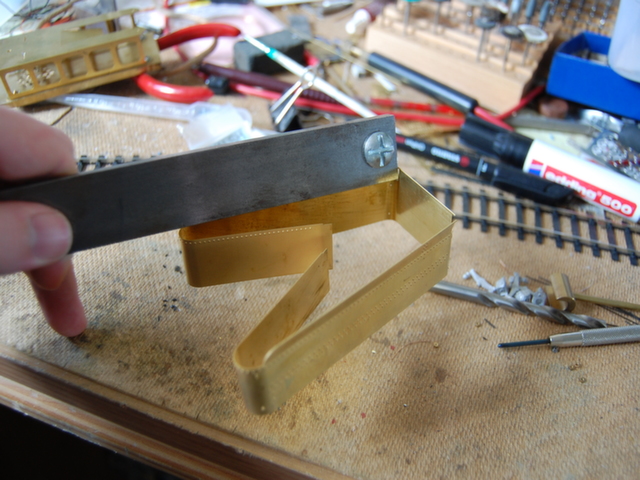
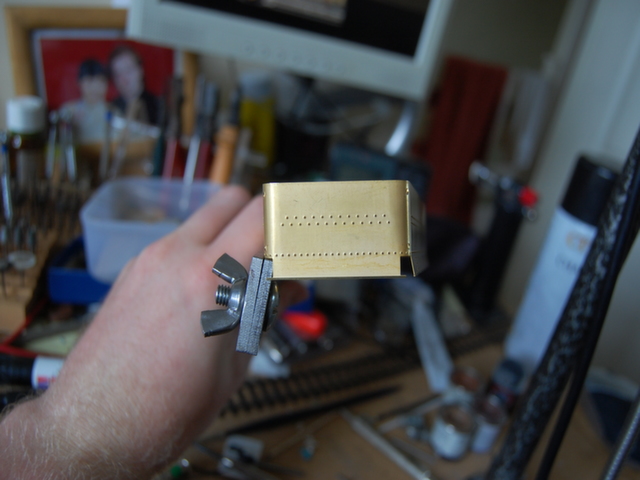
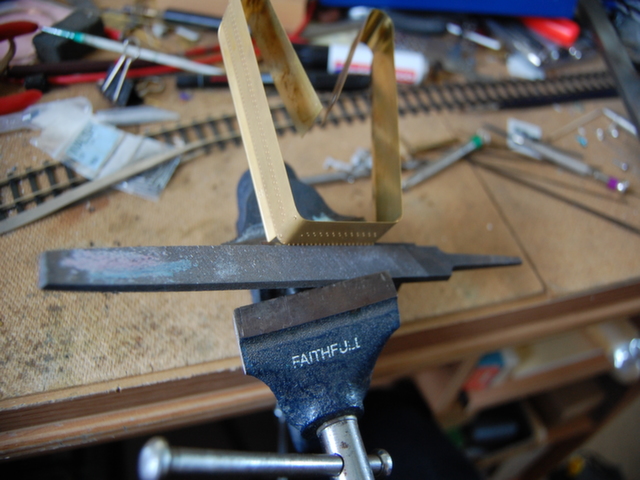
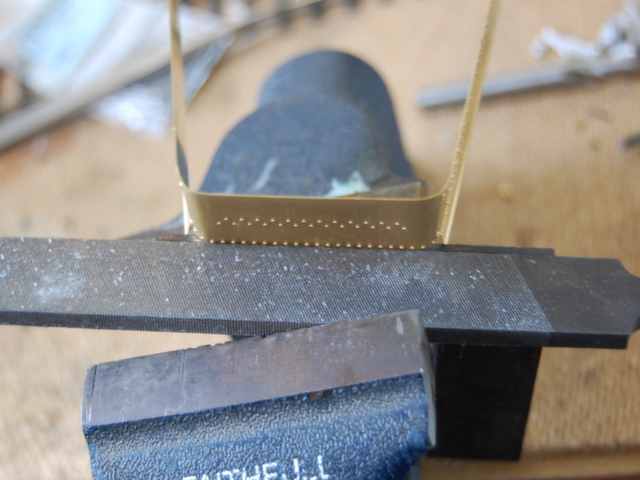
It was very important to get these folds straight. anything other than perfect would stick out like a sore thumb on the final model.
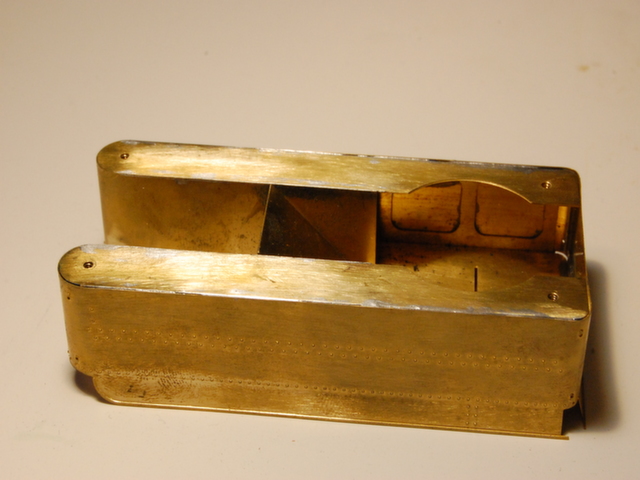
Next came the tender frame. All simple enough. A nice powerfull iron is pretty essential when soldering these large pieces. they just suck the heat out.
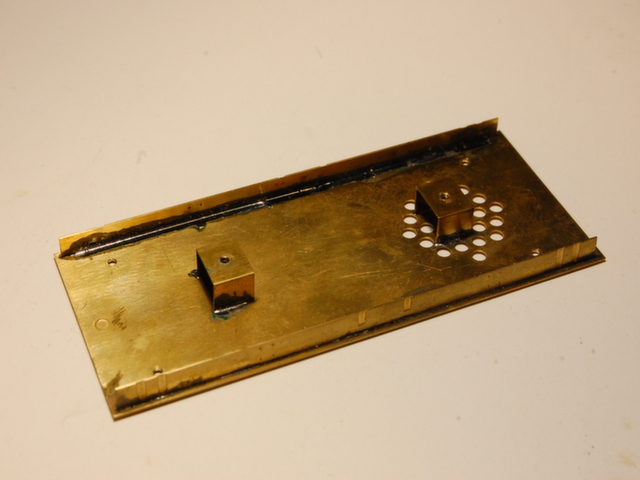
I folded up the tender sub frame and did a quick test fit of the overlay before soldering it in place.
Next up came the bogies. Again, Follow the instructions and they are easy enough. but they do produce a beautifully detailed bogie. Its a pity they are going to be so hidden underneath the tender!

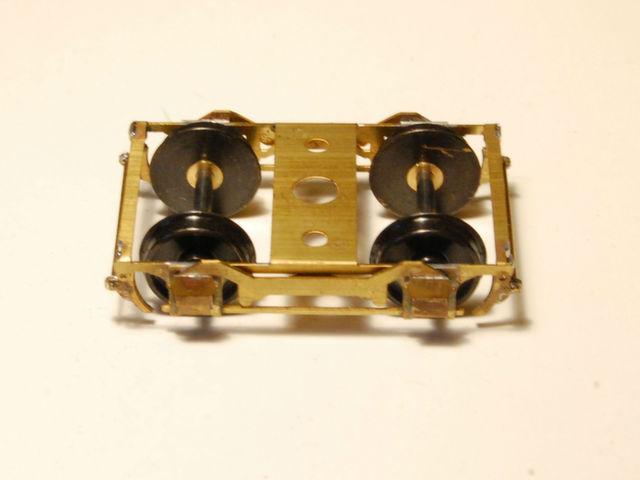
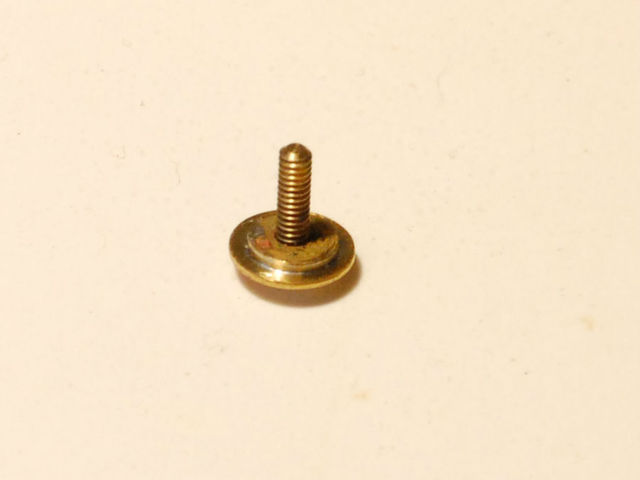
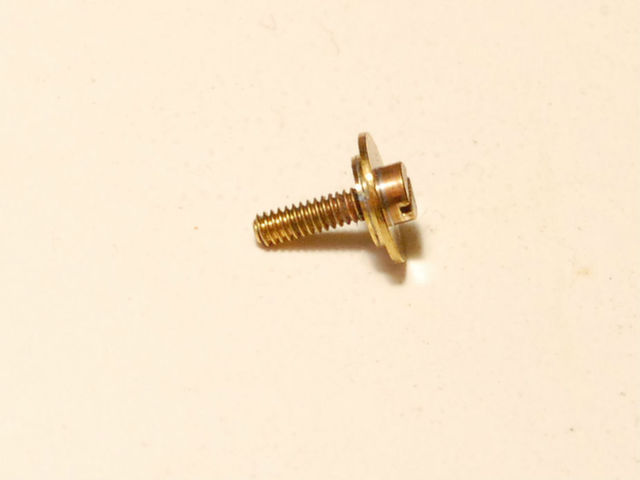
One item I did particularly like was design he had used for the bogie retaining screws. just 3 little washers. but a great idea that I might accidently steal at some stage!
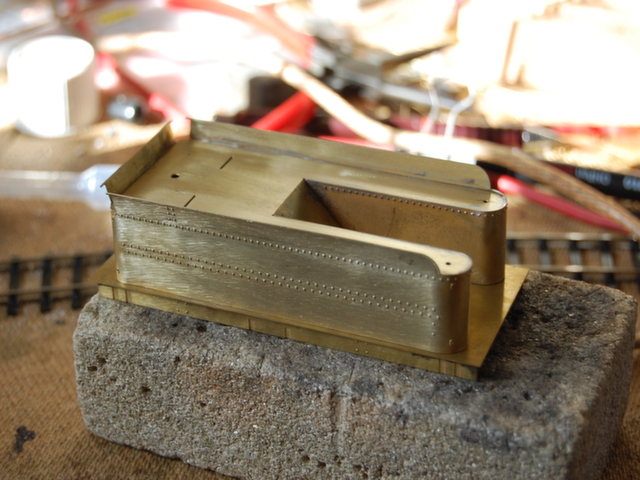
I will finish the tender later. the main superstructure is now done. its now just a case of adding details. that can be done later. I want to get a working loco up and running!
I turned my attention once again to the frames.
There are no shortcuts here. you just need to plod through.

I have added the gearbox that came with the kit..... not sure if that ones going to stay! I suspect it may get replaced with either a high level or a north yard gearbox.
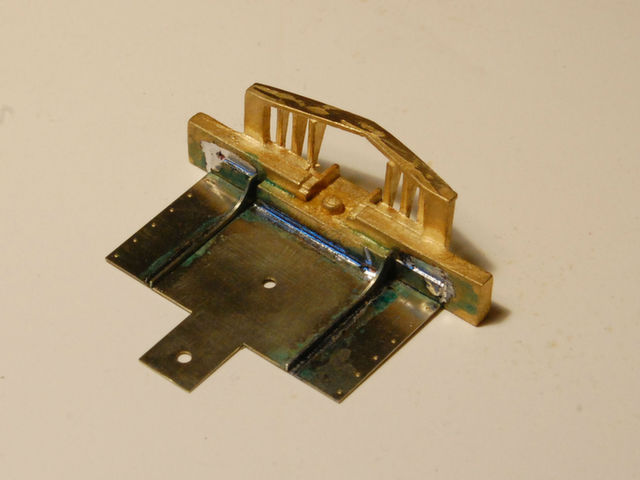
I also spent an evening soldering together the pilot (that's cowcatcher and bufferbeam to everyone on my side of the pond!). this was another occasion where a decent sized iron was essential. that big brass casting just sucked away the heat.
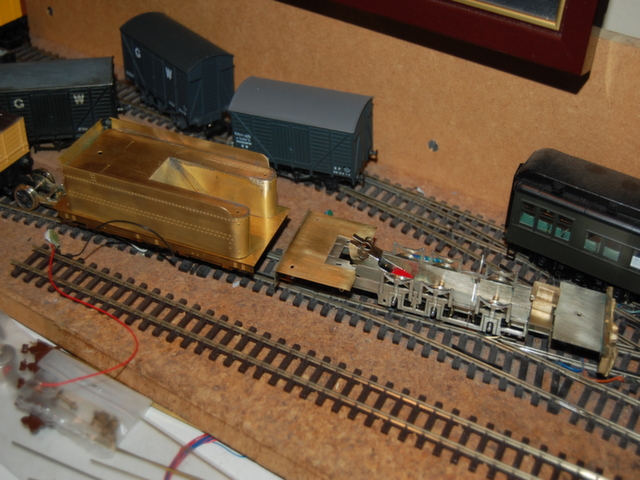
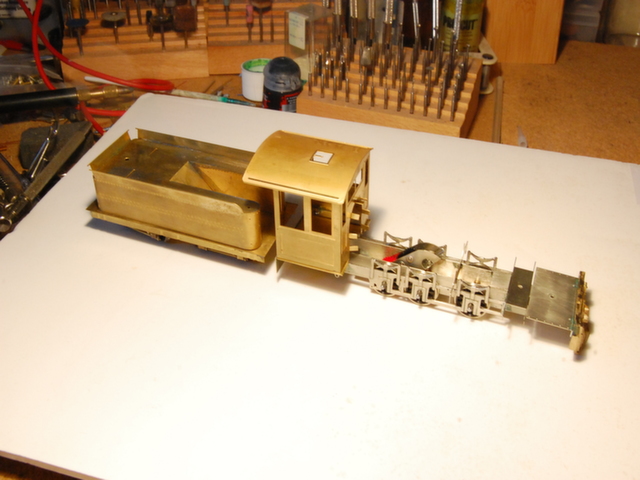
The cab also went together exactly as it should. I haven't soldered on the roof yet. But I couldn't resist taking a few minutes to pose the loco as it stands. The next big job (and if I am honest its one I am a bit scared of!) is to put the boiler together. There are big overlays and some big castings to go on there.

MUCH more to follow on this one shortly!