
Since the original article on JMRI on a Raspberry Pi 2 using the Rasbian Wheezy operating system, the Rasbian Jessie version has matured and gained enough support to be a good platform. Also, a new Raspberry Pi has come out – the 3B – and this only supports Jessie. Not only that, but JMRI has moved on too. So I have decided to supplement the original article with this new one; note that where steps remain the same, I will be referring to them briefly.
A new Pi
So what is different to this from the previous Pi ? Well, at first glance on the board – not a lot ! But looking at it in more detail, there are some small changes visible.

The first is a small white ceramic component in the top left corner – this is a WiFi antenna; that’s right, the Pi 3 has built-in WiFi functionality. It also has BlueTooth built into it as well. Another way to see if your board is a Pi 3 is that the logo has moved from the left of the Broadcom CPU to above it. The eagle-eyed will also note that this CPU has a different code – instead of the Broadcom BCM2836 ARMv7 32-bit CPU we now have the Broadcom BMC2837 ARMv8 64-bit CPU, although currently there is no 64-bit version of Rasbian. Nevertheless, this is a major upgrade, increasing the CPU speed by 300MHz to 1.2GHz, and making this device a desktop replacement. However, the increased power requirements of these additions do mean that the recommended power supply has increased from 5v 2 Amps to 5v 2.5 Amps; while an older supply will work, it’s advised you get a 2.5 Amp supply. As far as everything else is concerned – the layout of the connectors on the Pi 3 are the same as the Pi 2, so almost all of the accessories can be used; the only area you may have to check on is the case, as a metal case may interfere with the built-in WiFi. The best bit for the new Pi ? The price has remained the same, at £25.
Building the Pi
So – you’ve bought your Pi 3 and have the new 2.5 Amp supply; you’ve read the previous article and have all the other bits & pieces ready (keyboard, HDMI screen, Sprog, etc) – now what ? As before, format the SD card (you will need at least an 8GB card, but I suggest a 16GB Class 10 card or better) with the SD Formatter utility, and then copy your Rasbian Jessie files onto it. Connect the HDMI cable, keyboard and mouse, insert the SD card and power up.
On the NOOBS screen, select Rasbian and click Install. Now head off for a coffee or tea, this will take a while ! Once complete, click the OK button and the RasPi will reboot.
One thing you’ll notice now – instead of seeing the DOS-like Raspi-Config screen, you’re immediately loaded into the desktop GUI. This is one of the differences with Jessie. Before doing anything else, you need to configure your WiFi connection. Click the Menu option at the top left, select Preferences from the drop-down list, and choose Raspberry Pi Configuration – this is the GUI version of the Raspi-Config screen (that's still available, but this version is often easier to use).
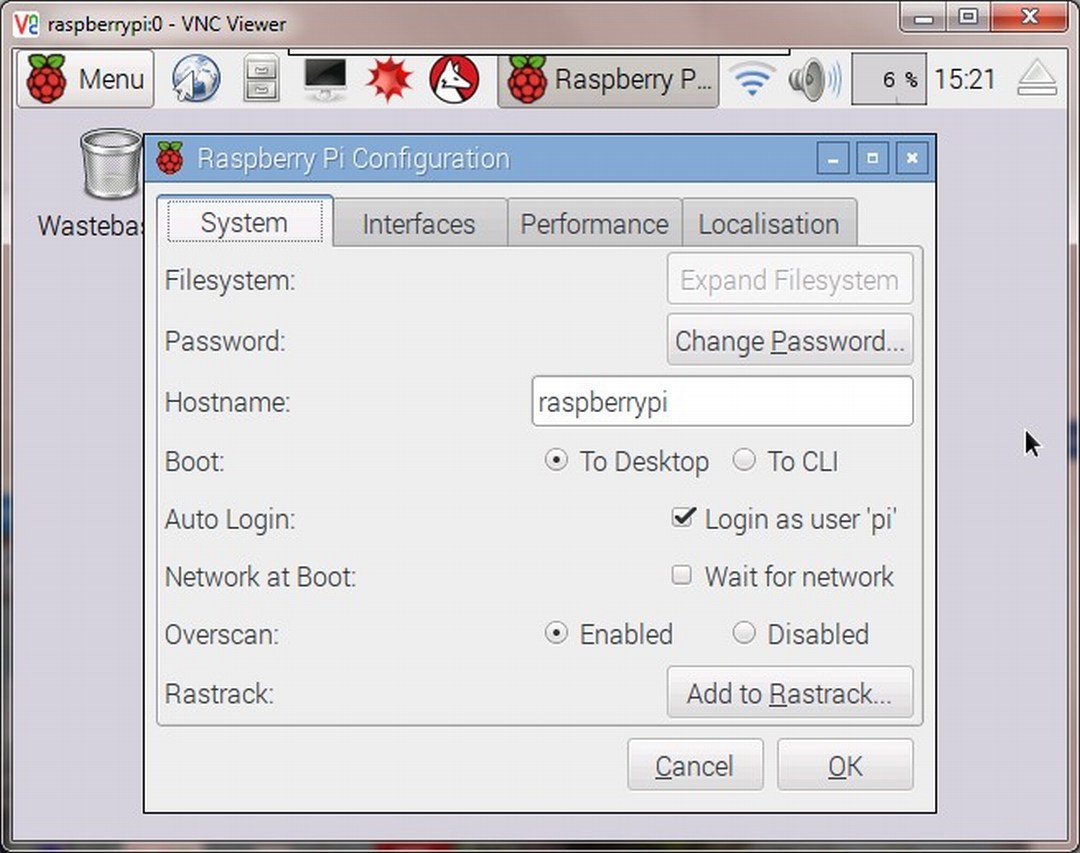
Select the Interfaces tab, and make sure SSH is enabled; you may want to enable some other options here. On the Performance tab, increase the GPU memory to at least 128MB (I usually use 256MB). On the Localisation tab, set your Locale, Timezone, Keyboard and (most importantly) Wifi Country. This latter will enable the WiFi option. Click OK, and reboot the RasPi. Once back at the GUI, click the WiFi icon on the top right, select your network and enter your password. You should now be connected. Alternatively, you can always use the ethernet port ! Remember to set your router to give your RasPi the same IP address each time – not essential, but recommended.
Open a Terminal window, and enter the following commands :
- sudo apt-get update
- sudo apt-get upgrade
- sudo reboot
Remember to press the Return key after each command ! These will update the operating system to the latest files, then restart the RasPi.
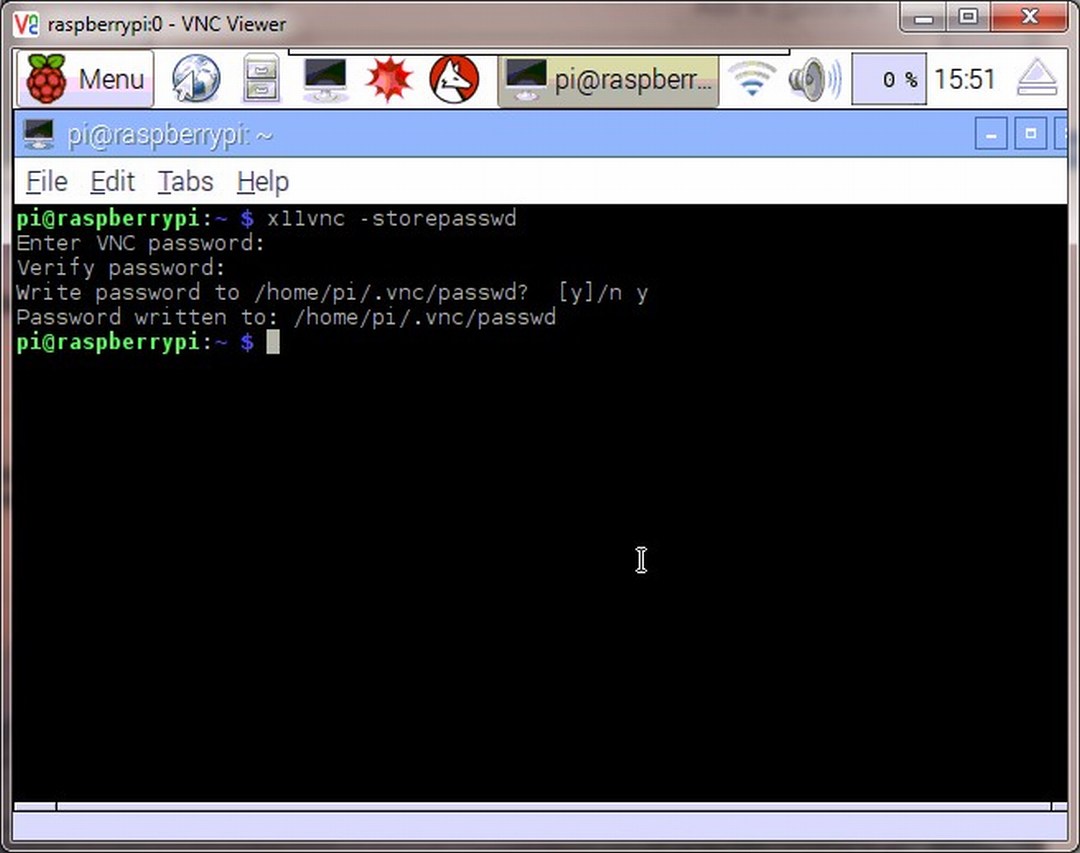
Install putty as per the RasPi 2 instructions, and you have remote terminal access. To get a remote screen, we will use a different VNC client than for the Pi 2 – x11vnc. In a terminal screen, enter “sudo apt-get install x11vnc” and press Return, saying “yes” at the prompt. Once installed, type “x11vnc –storepasswd” and press Return. Type in your VNC password, press Return and type it in again to verify, pressing “y” to write the password to the system.
In order to have VNC available automatically, at the Terminal window type:
- cd .config
- mkdir autostart
- cd autostart
- nano x11vnc.desktop
In the editor, type in the following commands:
[Desktop Entry]
Encoding=UTF-8
Type=Application
Name=X11VNC
Comment=
Exec=x11vnc -forever -usepw -display :0 –ultrafilexfer
StartupNotify=false
Terminal=false
Hidden=false
Press CTRL-X, Y, and press Return – the file now saves. Type “sudo reboot” and the RasPi will restart. Once restarted, open a Terminal session and type the following:
- cd /boot
- sudo nano config.txt
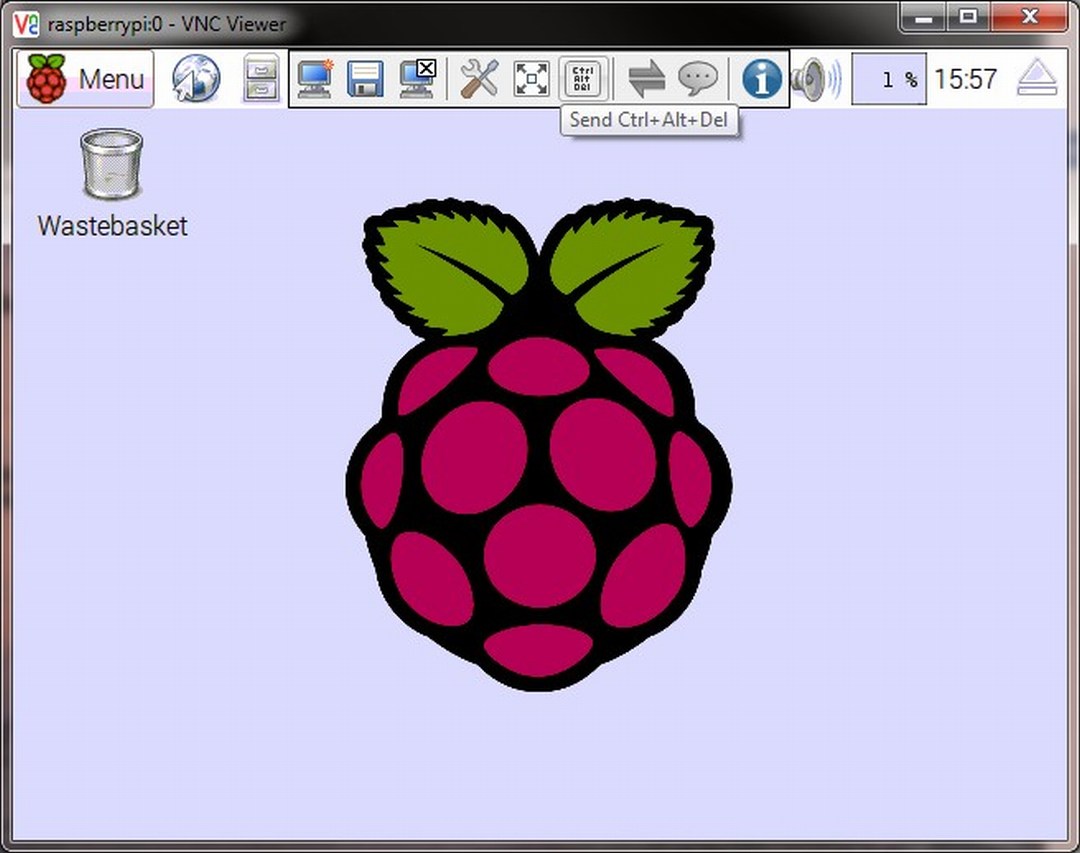
Scroll down the file to the line “#hdmi_force_hotplug=1” and remove the #. Under that, remove the # from the lines “#hdmi_group=1” and “#hdmi_mode=1” and change the latter 1 to 16, ie “hdmi_mode=16”. CTRL-X, Y, press Return and type “sudo reboot”. If you don’t do this change, the VNC sessions will be in a really small window (as seen below) that can be difficult to use !
Once restarted, use your VNC file on your PC to connect to the RasPi. The RasPi is now set up.
Installing JMRI
Jessie has Java version 1.8.0_65 deployed by default; while you can update this if you wish, there is no requirement for JMRI, as it will happily use this version.
To get the latest JMRI, type “sudo wget https://sourceforge.net/projects/jmri/files/production%20files/JMRI.4.2.1-R6b484b4.tgz” and press Return. The JMRI archive will start downloading.
Once downloaded, open the File Manager in the Desktop, select the JMRI archive, right-click and select “Extract here”. The archive will now create the JMRI folder structure and store the extracted files.
Connect the Sprog’s USB cable to the RasPi and turn it on. Open the JMRI directory in the File Manager, and run DecoderPro. The JMRI wizard will run. Click Next, and accept the defaults on the Language & Owner screen by clicking Next again. Select Sprog DCC as the System Manufacturer, Sprog as the System Connection, and the identified USB port as the Serial Port, before clicking Next and Finish. You have now set up JMRI with the Sprog as a programming station.
To add JMRI to the menu system, click on Menu at the top right of the GUI, select Preferences from the drop-down and Main Menu Editor. With Applications selected on the left, click New Menu on the right and enter JMRI as the menu title; click OK. Select JMRI and click New Item. Click the browse option, enter the JMRI directory, select DecoderPro and click OK. Name the item and click OK. Repeat with the other JMRI applications you want in the menu, then test the menu items to make sure they all start.
You can now set up a Throttle and the headerless running as per the RasPi 2 instructions. Remember to make a backup of your SD card !
It’s as simple as that …
Mike Dunn