I once commented that Martin Finney kits were actually manufactured by God himself and Mr Finney was merely the holder of an exclusive distribution deal!
A friend said that Brassmasters had that franchise!
UPDATED 01/07/2014
About 5 years ago I started a Craftsman lord nelson. It was by far the worst kit I have ever built! But amazingly, the customer still wanted me to build another so here it is!
The kit is still readily available from Brassmasters
Here is a link to the Wikipedia article on the Black 5.
Given the reputation of the kit (its frequently described as “the ultimate black 5”), it’s a daunting build. But my initial impressions suggest this is a really good kit. The etching is beautifully done and there are a whole host of alternative parts to make a loco that had a huge variation in detail. From my initial research it seems that virtually no 2 loco’s were the same!
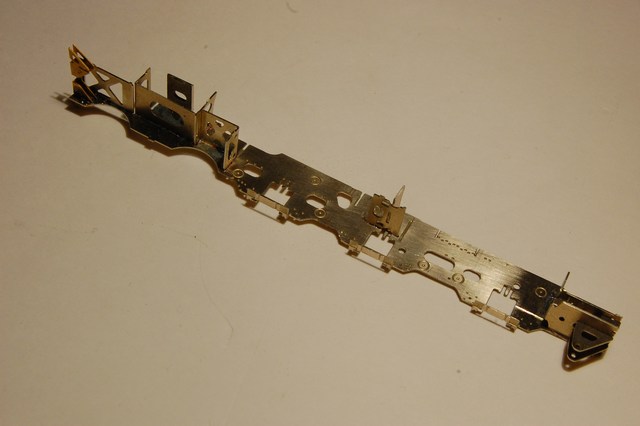
All I had done since my house move was to tidy up some chassis pats but I have just made a proper start.
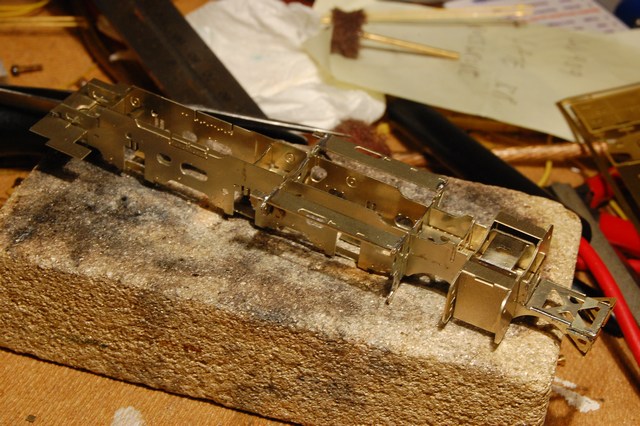
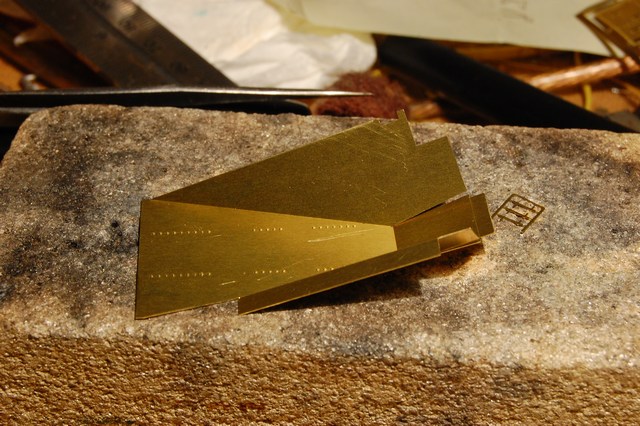
The first job was to fold down the footplate. This is actually quite a clever design. You fold down the valance and it automatically form part of the cab footplate at the same time.
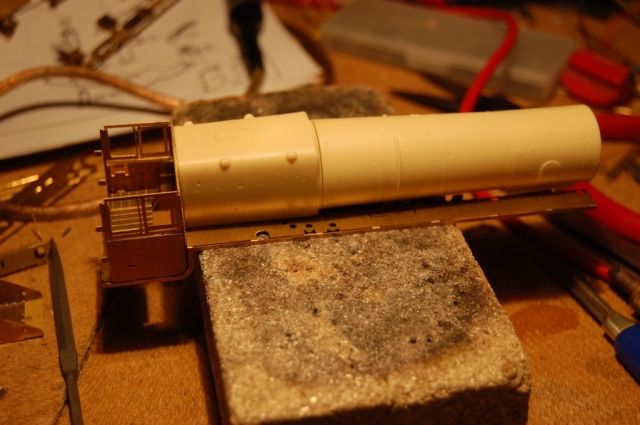
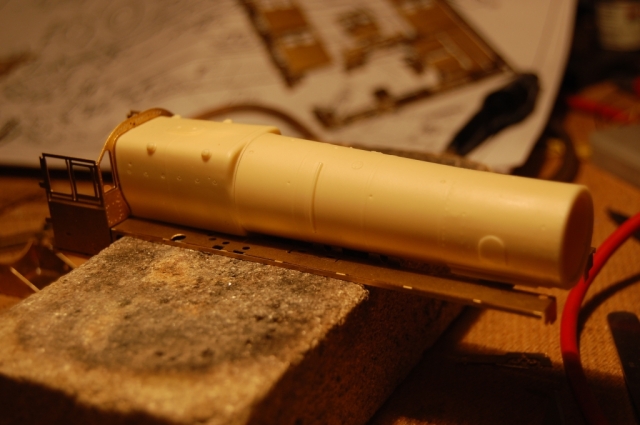
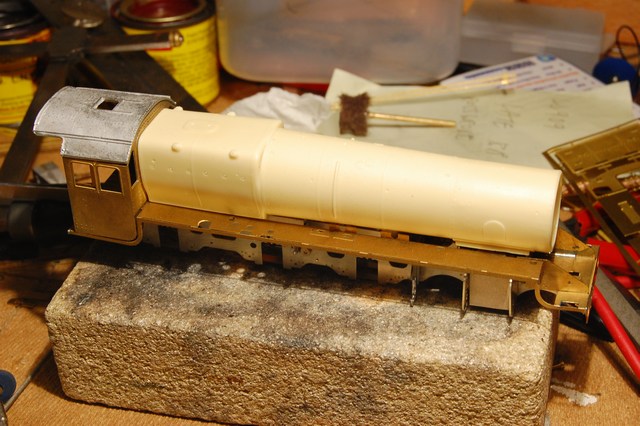
I also folded up the cab and test fitted the rather nice resin boiler!
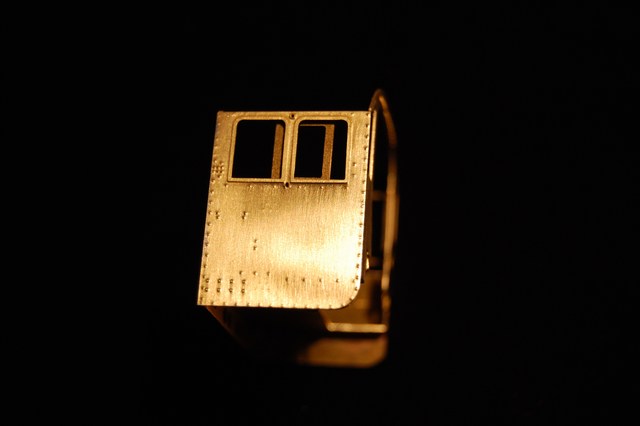
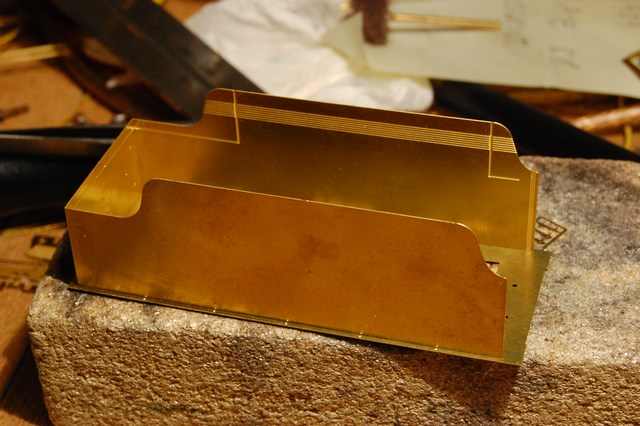
Well I made a start on the cab! I started the cab because I thought it would be a nice easy thing to be getting on with but even on that fron there are a huge number of choices to make! for example, some loco's had large windows, and different cab roofs and on the model, you can model it with the windows open or closed!
UPDATE 4/11/13
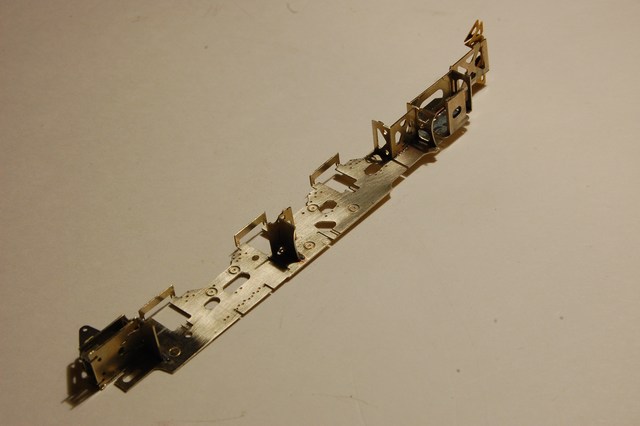
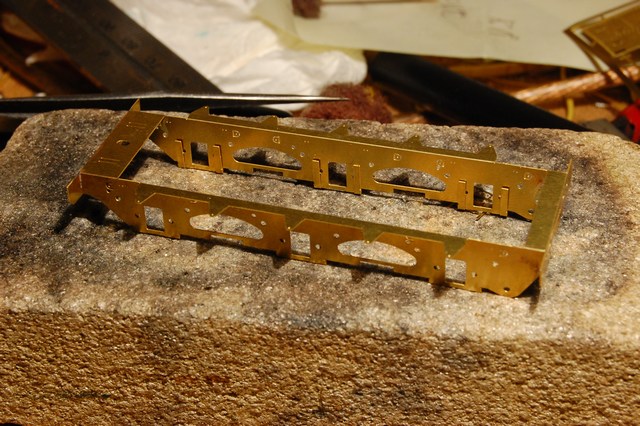
Well it’s been a busy couple of days for the black 5. The chassis spacers have all gone in.
I am reasonably happy with it at this stage. I did test fit the boiler at one point and decided that I may need to shave off a couple of mm all the way along the top of the frames at 1 point. This is because the loco is being made to OO standards and so the frames are closer together. The bottom of the boiler sits below the top of the frames. This would be fine in P4 but because the frames are closer together they foul.
I also cut out and cleaned up the guides for the axle bearings. It’s a real treat to have a kit that’s so well thought out!
I folded up the main cylinder piece and the valve gear hangers. The valve gear hangers needed some work as they are designed for P4. There is a bit that needed filing down. But frankly you can’t see it in there and it may well just get cut off! This is by far the most intricate chassis I have ever built and it’s amazing to think how far the hobby has come since the days of K’s kits!
I also added the other 2 overlays for the cab. And I couldn’t resist posing the whole thing for a picture. It’s starting to look like a black 5!
Attention then turned to the tender. I like to make a fairly early start on the tender. I think it helps me get a better feel for the size of the engine and having something of the right general outline is a big motivator when you are working on it.
The first job was to fold down the chassis. It will be fully sprung using outside frames. But inside frames are provided should you wish to use them.
Folding the tender body was easy, but there is soooooo much work still to do on this. It’s got to have full overlays over 3 sides and I am not looking forward to rolling that radius along the top of the tender, even though half etch lines are provided on the back. For now I only went as far as filing off the etching cusp.
One last job for the night (really because I couldn’t resist!) was to fold up the coal bunker. The tender has a long way to go before this item actually gets added but it was just too good to leave in the box last night!
Update 10/06/2014
The wheels have arrived! More to follow shortly
Update 01/07/2014
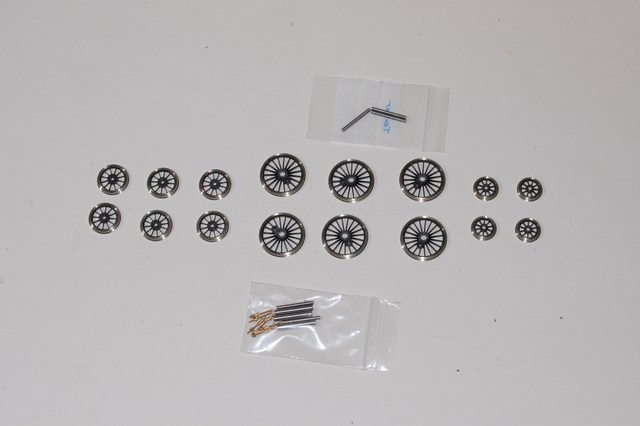
Finally a picture of these beautiful wheels!
They really are about as close to perfect as its possible to get!
I have also been doing some work on the rest of the model.
The tender is coming on in leaps and bounds. and the top half is approaching completion.
pic in here
The overlays have been added. I did have some difficulty with these. If I were to repeat this build I would cut away much more of the structure underneath the overlay in order to get solder in behind the overlay. As it stands, I think the problem will be unnoticeable on the model. but something to be aware of if you are going to build one of these.
I have also added many of the castings. the next step for the tender is to add the break gear. this I am NOT looking forward to! Although
A quick update.
I have done allot of work on the tender but I forgot to bring the pictures with me today, so you will have to make do with these pictures of the loco!
First and foremost, I have made allot of progress ont he frames. they have been soldered together and a few details added. I have also soldered the wrappers to the cylinders.
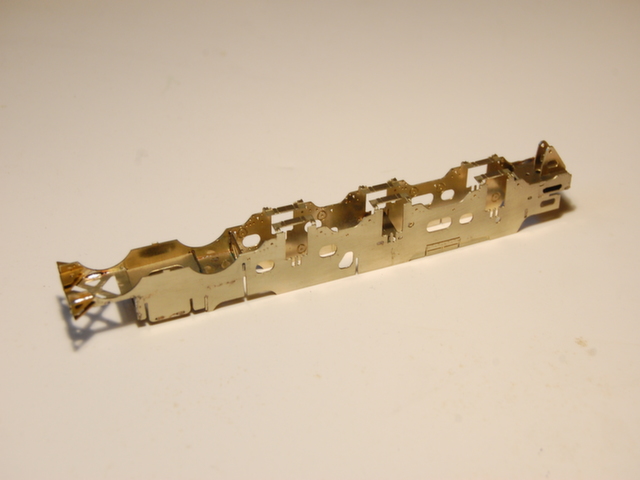
I have also mad up the main valve gear components. And checked the distances between the axles correspond with the rods. This small but simple job is EXTREMELY important in producing a smooth running loco.
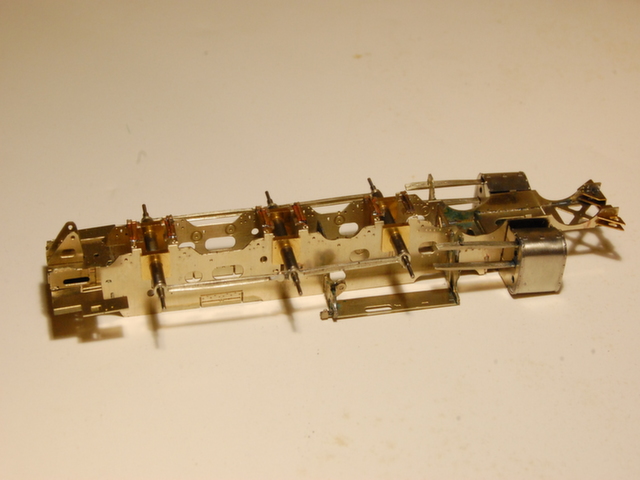
The front bogie also came together easily enough. Although I had to take some liberties in the detailing to bring it down to OO. I hope that one day I get a chance to produce one of these in P4!

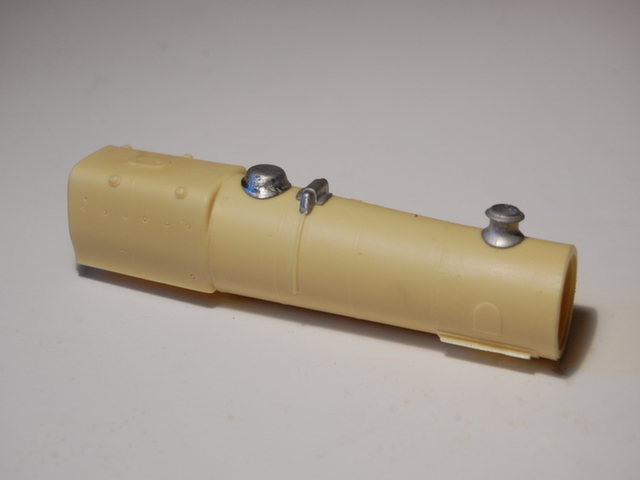
The boiler also got glued together and the main details added. The boiler will be my the focus of my attention over the next few days. I want to add the handrails and some more fo the detailing parts. there is allot of pipework on a black 5!
To be continued.....


