

This in another of my bucket list kits!
I have a bit of a soft spot for these locos. They are plucky little beasts that have been pounding the foothills of the Himalayas for over 120 years!
in an age when digital drawings can be sent across the globe in seconds and refined and tweaked by user groups, I find it amazing that little loco's like these were constructed in Manchester and dispatched across the planet and were so well suited to the task that they have never been improved upon despite a century of failed attempts!
I do have a small confession to make. this loco was actually third on my build list. but it has jumped the queue due to the news of the massive earthquake in the Himalayas.
Having never experienced a proper earthquake (the closest I have ever been was being sat in my office on the morning the Buncefield oil refinery went up! I had no idea what was happening!) I simply cannot comprehend the total destruction caused by an 8 on the Richter scale.
As I write this, there is no news of damage to the DHR, but given the proximity and topography of the land, its pretty much a foregone conclusion that there would have been some damage to the line that I believe had only just reopened over its whole length following a landslide at Tindharia.
EDIT - The DHR actually escaped the earthquake, but I understand that the weather that followed was more destructive.
I have never been to India, but I have spent a fair bit of time in China and I am well aware of how the word "preservation" translated into their culture.... it dosent! the B class locomotives have survived because they are the best solution to the problem of traction on the DHR. various attempts have been made over the years to improve on the B class. weather that involves diesel locomotives or oil firing conversions or various Heath Robinson Railcars, the simple fact remains that given the incredibly resourceful population in that part of the world, a B class can be kept going with relative privative resources. all they need is something to burn and some water and they can be run and keep running with little maintenance other than a drop of oil and some TLC.
And from what I have read and see in the pictures, TLC in in no short supply on the DHR.... money on the other hand is! which is why facilities on the DHR have barely improved in the 130 years since the line was built.
The Model
This is not my first B class. I have more or less finished a Backwoods miniatures model of the same locomotive in 4mm. Its an interesting kit that will be covered in another article, but it ground to a halt. I desperately wanted to incorporate a stay alive decoder, although I managed to find space for the stay alive unit, a compatible decoder didn't exist at the time to install into the space I had available in the loco. so it got put on a back burner ever since.
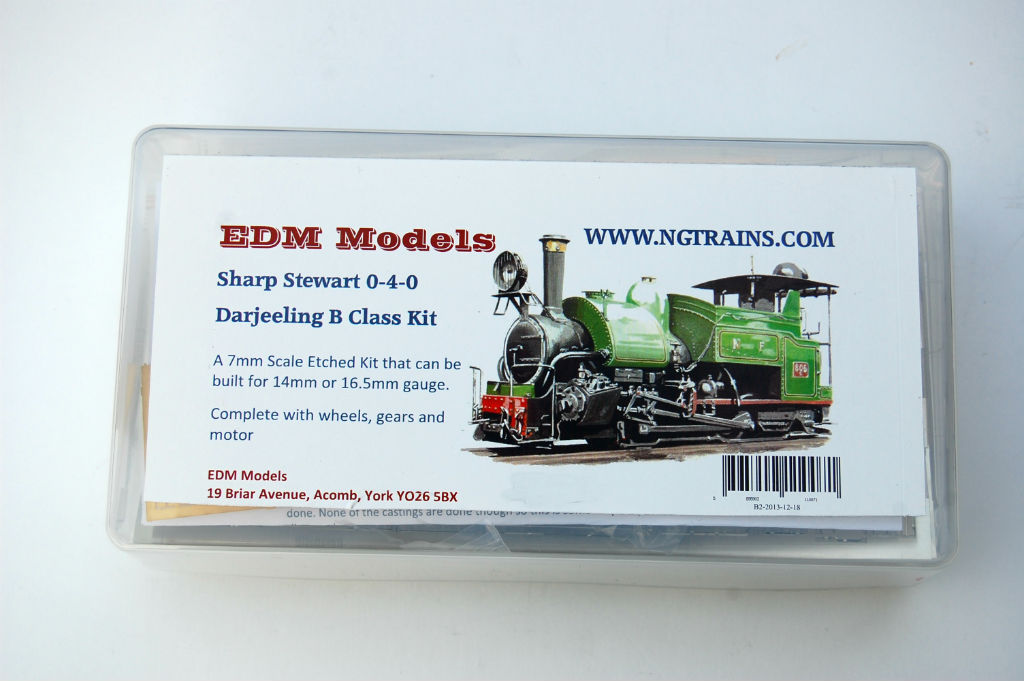
When I first saw the EDM B Class I was astounded at the detail. people often view these 2' gauge locomotives at small. they are defiantly not! secondly, they were designed to be easily maintained and for maximum traction on the steep grades of the Himalayan foothills. to this end, the locos were fitted with a large well tank between the frames (some early B class locos even had extra panniers in front of the cylinders.) to augment the saddle tank. they were also fitted with full outside Walscherts valvegear.
All this results in a model that should have plenty of space for extra weight, EDM have sprung the chassis so it should have loads of pulling power. But also a wonderful level of detail. the outside motion combined with the flycranks should be pure poetry!
Reaserch....
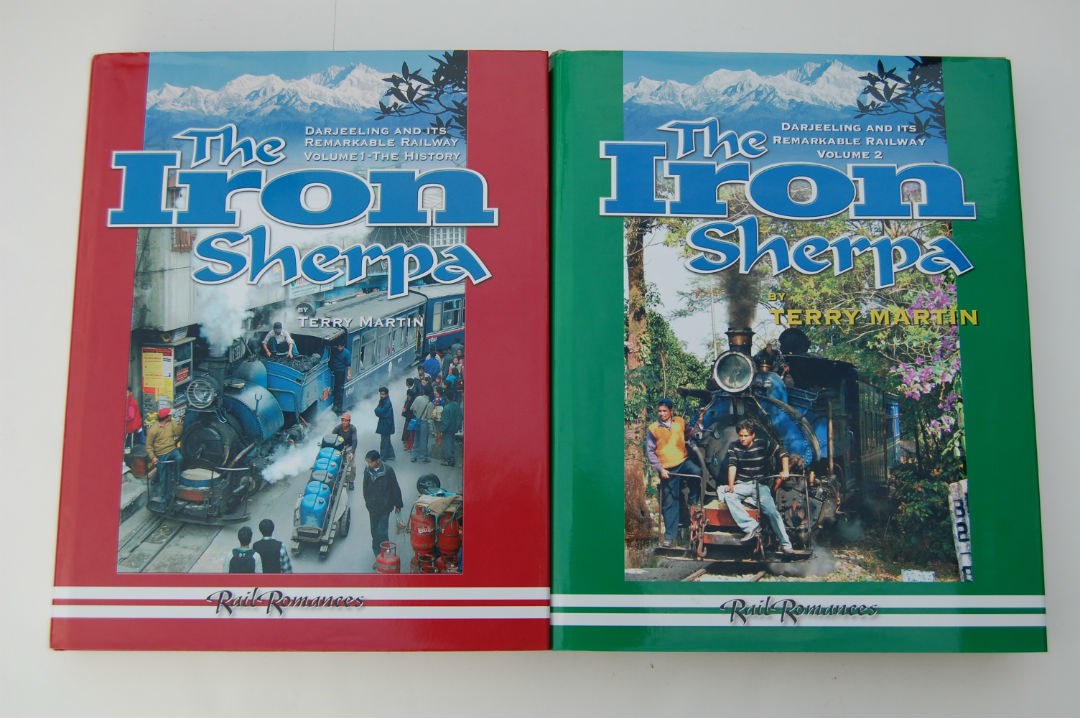
I would strongly suggest you beg, borrow or steal copies of either The Iron Sherpa volume 2, or Halfway To Heaven All by Terry Martin. Sadly Terry Martin didn't live long enough to see volume 2 printed, but I regard this as one of the finest railway books ever printed. it is superbly researched and beautifully detailed and will be the definitive work for many years to come. Volume 2 was printed in a small batch and is now VERY hard to get hold of but they do occasionally come up. Expect to pay in the hundreds for a copy.
I am fortunate enough to have had one pre-ordered! Either of the above mentioned books will be perfectly adequate. Volume 2 is more detailed but large sections of text are remarkably similar from half way to heaven and the later 2 volume set.
Initial impressions.
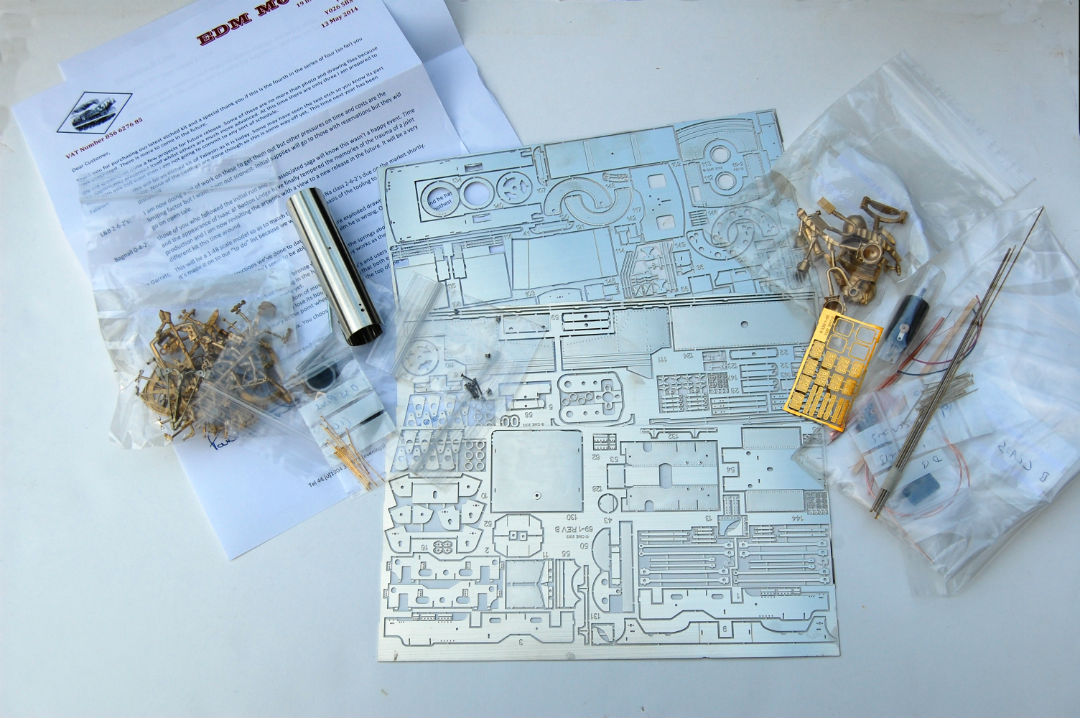
Initial impressions of the kit are superb. the etches look fantastic. this is exactly the kind of thing that I want to see when I open a box! a fine example of the etchers art. castings are mostly crisp and well executed. one or 2 places that they will need tidying up a bit but amongst the best I have ever seen. I understand that this was the first of the recent kits produced by EDM (followed by the Ffestiniog twins and the double Fairlie) and the only one of the 3 to still use hand made masters for the castings. the following kits used 3D printed masters. I am in 2 minds about 3D printing. I think using the technology for producing casting masters is an ideal use of this fantastic tool. But I don't approve of using it to produce entire bodyshells. the finish is never as good, its a disgusting material to work with, and after all your hard work, you are still left with a model that's essentially a plastic kit that will inevitably look tatty in 5 or 10 years time. I have brass models dating from the 60's that I have simply stripped and repainted and they hold their own against models 40-50 years their junior.
As with several modern kits, the instructions come on a CD. I have no problem with that. For starters, from the manufacturers point of view, its easy for them to keep instructions up to date and incorporate suggestions from other builders. secondly, its possible to include far more artwork effectively free of charge. The disc that comes with this kit includes a host of prototype pictures both of the DHR and also of no.10 that is now owned by Adrian Shooter. I have repeatedly found that its impossible to have too much information when constructing a model and the CD is a great way to provide it. exploded diagrams are all done on CAD and should be easy enough to follow.
Some people follow the instructions religiously, I take a slightly different approach. I have built enough locomotives to know my way around a kit. but this is a complicated one!
I chose to spend an evening removing the larger pieces of metal from the frets and filing off the etching cusp. I think this is a very important job and one that less experienced modellers tend to gloss over. it really shows on the final model if the cusps have been left on. for a start, often the designers of the kit have taken the size of the cusp into account so unless you remove it... the bits don't fit! secondly, if it gets left on then the model simply looks terrible! you can spot it a mile off!
The first job is to laminate the 2 parts of the frame. easy enough but has to be done very carefully. I had a little bother with the flaps for the springing wire. getting the springing wire to sit flush enough with the frames to engage with the top of the hornblock took some tweaking. I understand from the instructions that later in the build i am required to solder a piece of 1mm wire to the top of the hornblock,. I could have left that piece of wire a little longer and not worried about this so much, but I thought it would be neater and in the long term, far less problematic to get it right in the first place so i took my time and really got this bit right!
Update - 22/06/2015
The kit is comming along nicely! Its actually easier for me to explain progress in the videos and I may switch compleatly to this in future but the next few articles will probably be a hybrid of the 2.
Enjoy.