A shortage of good rolling stock for my fathers layout (Blas O Cymru) was the trigger for this build.
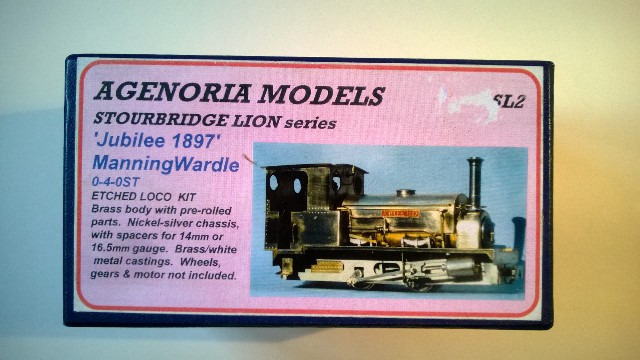
I had read about Agenoria models but never had the pleasure of building one of their kits. Agenoria, as a single entity no longer exists. the range was broken up with the narrow gauge models going to one owner and the standard gauge models going to another.
The narrow gauge kits were acquired by EDM models which I think are part of NG trains.
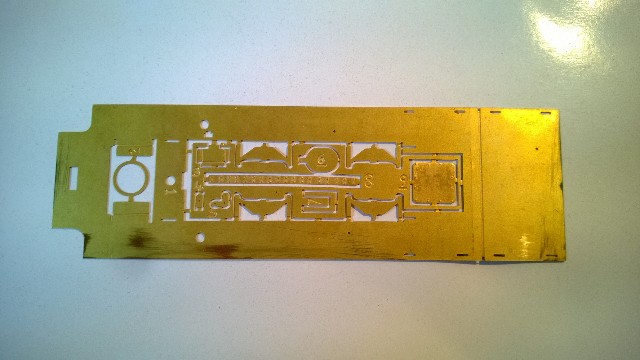
I spent a happy evening at my parents house tidying up the etches. This is a big job. I tend to do this in one big go. cutting the parts from the etches and filing the etching cusp until the edges are square. I think this makes a massive difference to the appearance of the finished model. A model thats been built without removing the etching cusp always looks terrible!
Removing the cusp from all parts of the model in one go can cause confusion when you are trying to figure out which bit you need but on the other hand it does have the advantage that when you need a bit, its reads yo use straight away.
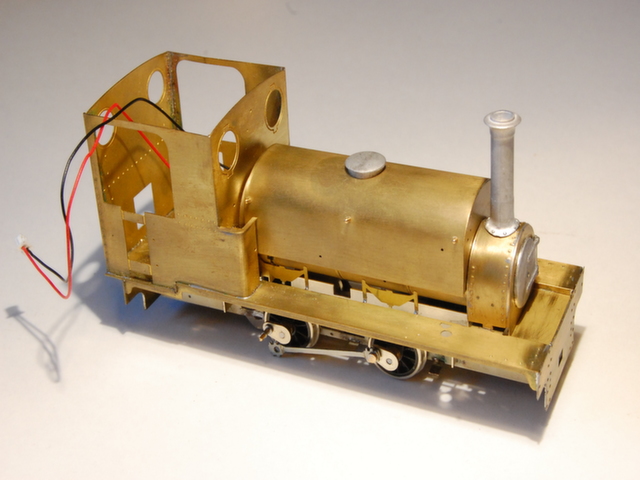
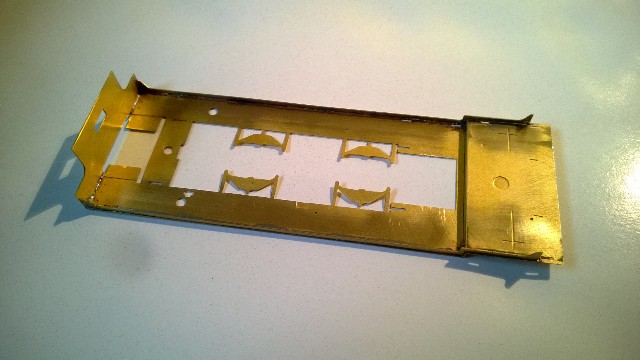
I started with the footplate.
I must admit to being fairly new to narrow gauge modelling. I know my way around a coach and a standard gauge loco. but some of these little engines are surprisingly complicated! The boiler on this loco is made form 5 arches of brass! This loco also has another small issue in that most people who will see it will have a pretty good idea as to what its supposed to look like! this might sound like a bonus but its not! It also means that if something is wrong with the proportions of the loco, it will stick out like a sore thumb!! The same problem also exists with GWR 4-6-0 locomotives!
Next job was to solder in the valances. All fairly straightforward.
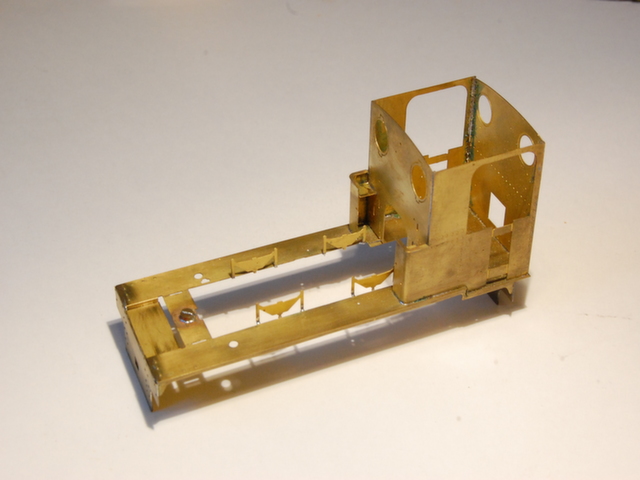
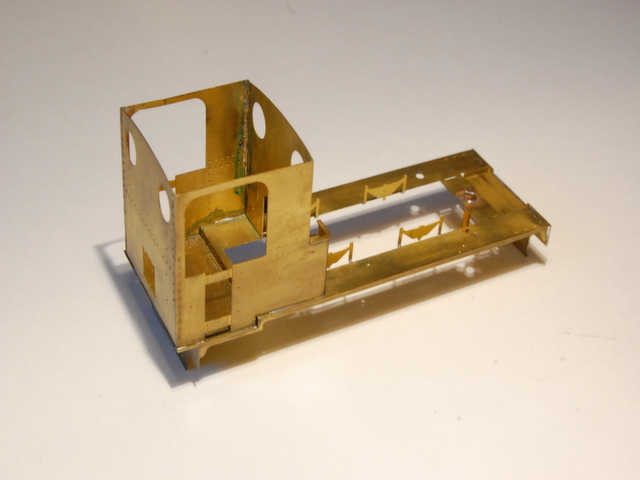
My only real criticism of the kit so far is that the cab front and back are about 1.5mm to narrow. it needed shims in each corner. 1.5mm dosent sound like much but it was a choice between putting shimms in each corner of moving the cab sides and tanks inwards by the same ammount. that may have had dire consequences later on in the build when trying to fit the boiler.
So far so good! Attention then turned to the boiler. By far the most complicated brass boiler I have ever done. But taking it one section at a time, Didn't prove too difficult. BUT, this is not a beginners kit!!
The boiler is made up in 5 sections. smokebox, Tank top, Tank bottom, Forward firebox (firebox that sits in front of the cab front) rear Firebox (firebox that sits inside the cab with the backhead)
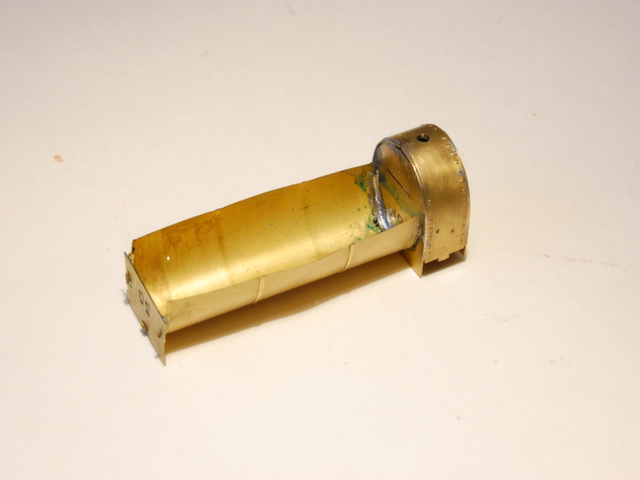
I started by assembling the tank top. This in itself is not an easy job. Getting all the bits of brass in just the right place to solder and keeping it there without burning my fingers (which I almost managed!) was a bit of a challenge! I also took the opportunity to solder the forward smokebox to the tank. partly to add some strength. I also began to add weight to the loco in the shape of liquid lead! There will be lots more of that later. but It was late at night and I had the stuff in front of me and I wanted a small job to do!
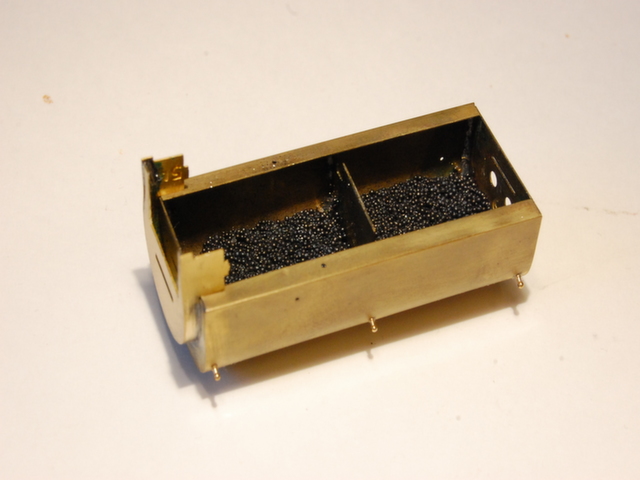
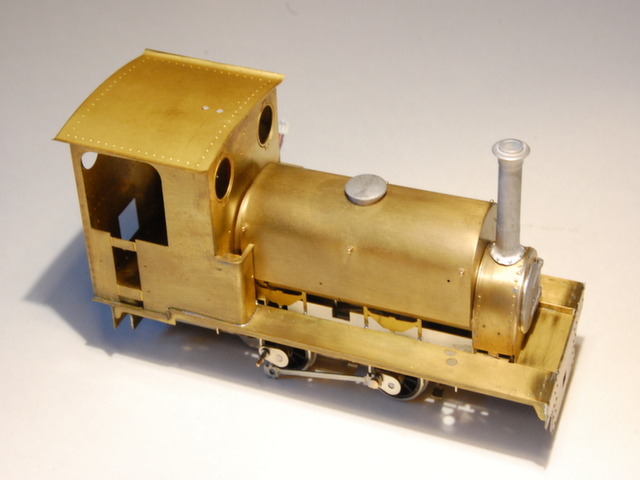
The tank bottom (which is actually the boiler but for the purposes of this exercise, its the lower tank! Went in next. this is made from a very thin bit of brass. I was initially concerned that it didn't have enough strength and would deform too easily. but in the end it just kind of clips into place and although it does deform a little, isn't noticable behind the springs of the locos suspension. I decided to add the smokebox to the tank bottom. effectively making the whole boiler assembly into 2 parts that can be disassembled easily for access and adding weight.
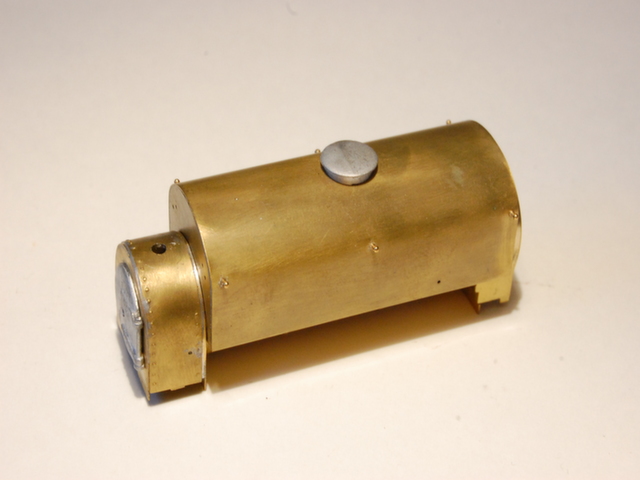
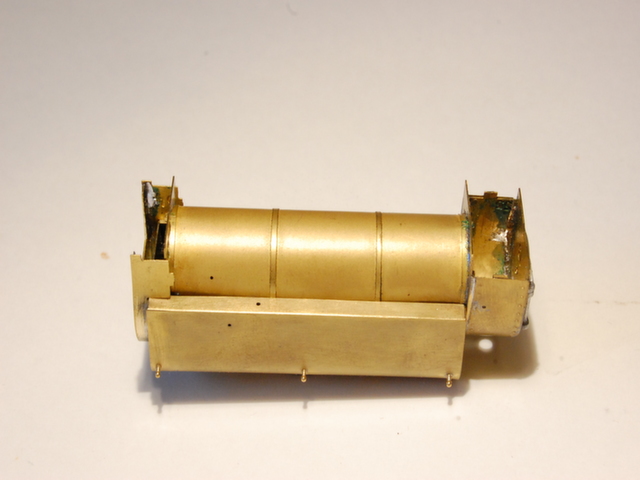
The whole boiler!
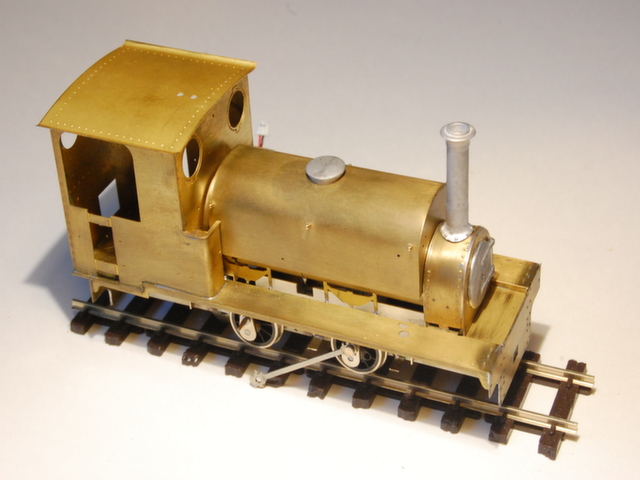
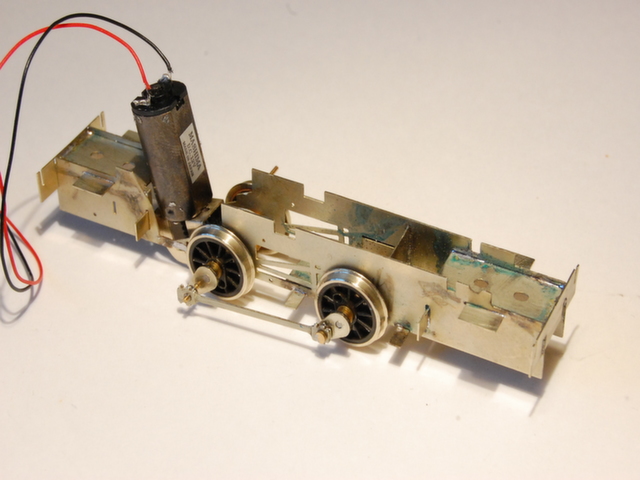
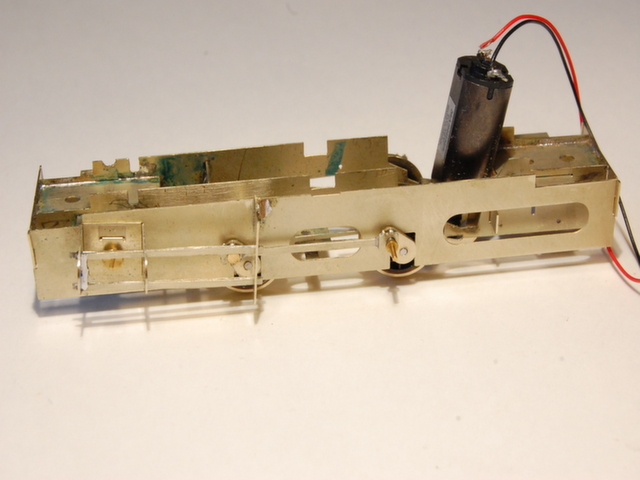
In the case of this loco, I wanted to get the superstructure done because I felt that it was by far the most complicated part of the kit. The chassis was fairly simple. the only possible difficulty would be the outside cranks. Firstly I built up the inner chassis (the one that actually does the work!) the frame spacers have wings that poke through the frames and stick out about 5mm (these are the spacers for the outside frames that get added later. I decided to junk the crank castings that came with the kit for 2 reasons. 1 They looked like allot of hassle, and 2, I had 4 Romford cranks sitting in a box from another aborted project.
I also junked the motor and gearbox that came with the kit. I don't know if they were origionally supplied with the kit, but there was an older type 12 series motor in the box. they were great 10 years ago but the 10 series motors are actually a newer technology and despite their smaller size are better and more powerfull in every respect.
Like the motor, the Exactoscale gearbox that was supplied was great 10 years ago. but things have moved on and its no match for a high level gearbox with its acetal/delrin gears.
Something that has really shocked me when working in O-16.5 is the lack of space for a motor and gearbox! Due to the shape of the boiler the only space on this loco is in the firebox! In the picture below you can see my solution to the problem. A 10x24 motor sitting vertically with a High Level gearbox. Even this was a struggle and there is no space for a flywheel. The layout runs DCC and for this loco I think its going to need a more sophisticated decoder than I normally use to get over the lack of flywheel. For exhibition use, reliability is king. far more so than weather the rivets are in the right place!
My current thinking is for a Lenz gold with a uninterruptable power supply module.
. 
Final quartering of the outside cranks will be done once the chassis is painted. The outer frames are mostly cosmetic and can be assembles separately and added later. Cylinders fold up easily and the slidebars done pose a problem providing you take it slow and carefully.
That's about as far as I have got so far. other than to post it with a couple of the castings sat on!