For several years I had kept an eye on the Broad Gauge Society website. But alas it so rarely got updated that at one point I thought the society had folded! Then one day it got a shiny new website and I decided to join.
This is the first new loco kit to be produced since I joined. A GWR 3501 class.
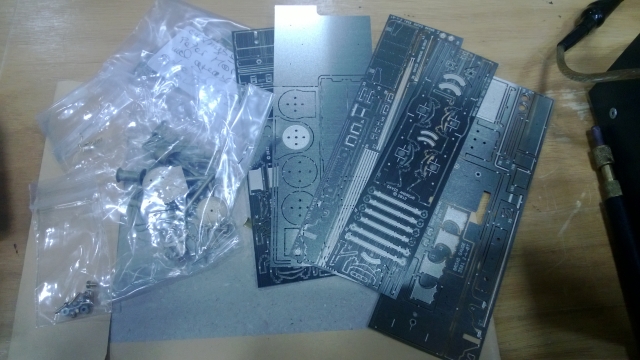
Initial impressions of the kit were very good. Castings were exceptionally good. And the nickel silver etches were nice and crisp.
I took a bag of tools to the show with me and sat chatting on the BGS stand while cleaning up the parts.
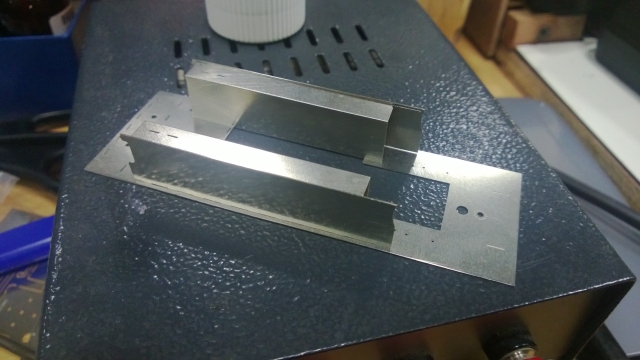
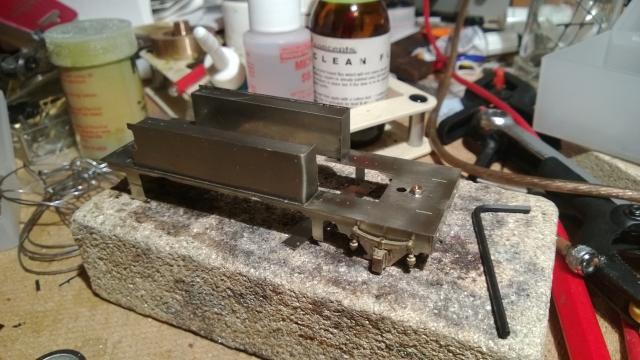
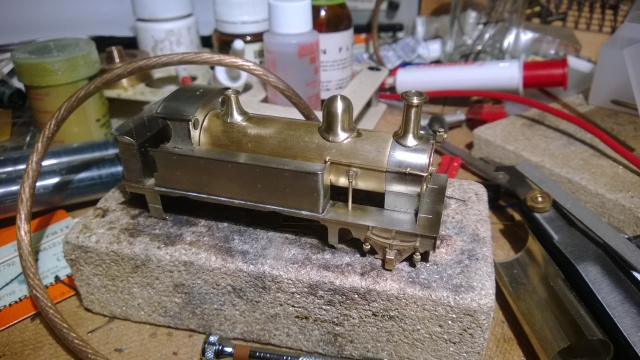
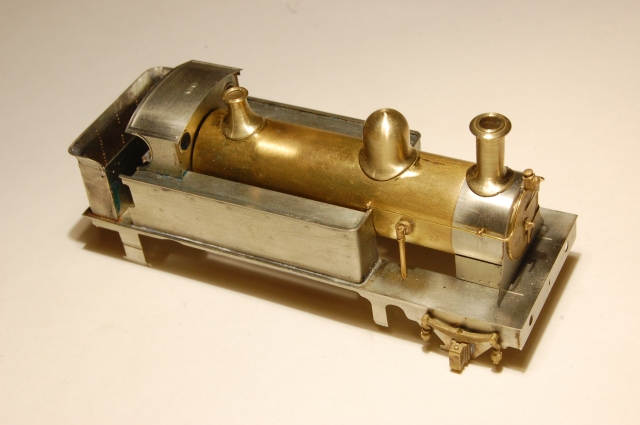
The body is fairly simple. All the tabs and slots are in the right places! The only bits that may pose a problem for you are the coal bunker which needs bending to shape and the flares forming. I actually formed the flares while it was flat and then bent it to shape. I find that’s the only way of keeping the flare consistent all the way round.
The other difficulty was that I found the cab front to be too narrow and needed a shim on either side.
I discarded the boiler in favour of a bit of brass tube. BUT later on in the build, I rolled the nickel silver boiler for a bit of fun and it formed extremely well. If I were to build a second model then I would probably use it.
A quick word about paint…. Initially I thought that the loco was painted a very simple livery. A simple 2 tone green and black like the 14xx tanks. But I was wrong. It had the full works livery with lined tanks and boiler and lined venetian red frames! That was a bit of a shock!!
For the simple livery, I would glue on the dome and safety valve which is what I duly did. But they will have to come off again for the more complicated livery.
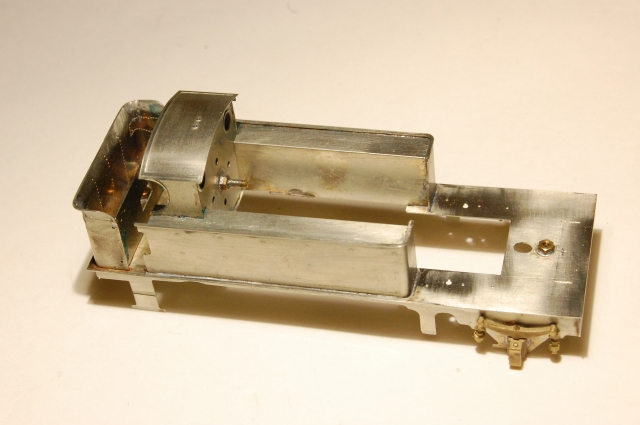
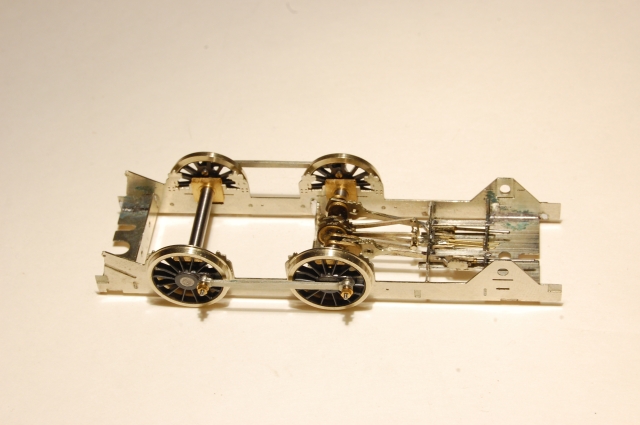
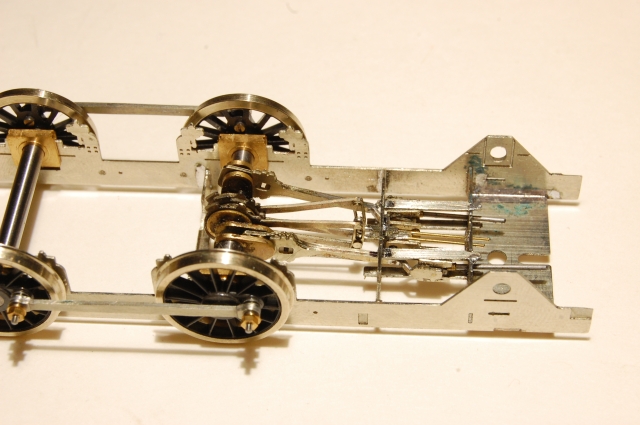
Attention then turned to the chassis. I am confident that compensation is less important in BG than in P4 because there is a little more flexibility in the chassis. But I wanted to make this loco a bit special and also I wanted to include working inside motion!
For the inside valvedgear I went to Martin Finney Chris Jones pointed out that they make a kit of the Stella which was 3501 converted to standard gauge. So I got kit IM6
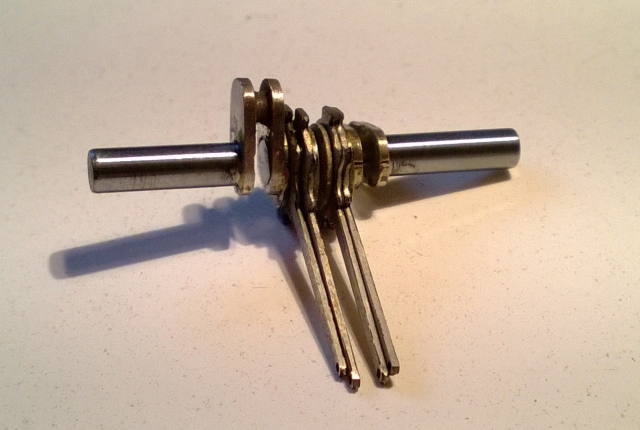
This was my first real venture into inside valvegear. First step was to make the crankaxle. I brazed mine, but I have since heard of people soldering them with 179 degree solder and not had any problems. But having done the first one, I would be happy to do another. The only important thing is to solder with the flame of the blow torch on the opposite side to where the valve rods are situated so they don’t overheat and melt! (I am very glad I thought of that before I lit the torch!!
After the slightly scary soldering operation, all that remained was to gently cut away the axle across the cranks. I did this very slowly and carefully with a slitting disc in the pendant motor.

The inside valvegear was not as bad as I had expected. Just take it slow and carefully and its not a problem. I would be happy to do it again.
One small criticism of the kit is that while there are lines marking the place to cut for compensation, they are not to the standard 6mm spacing. I cut them out and then very carefully filed them to the correct spacing.
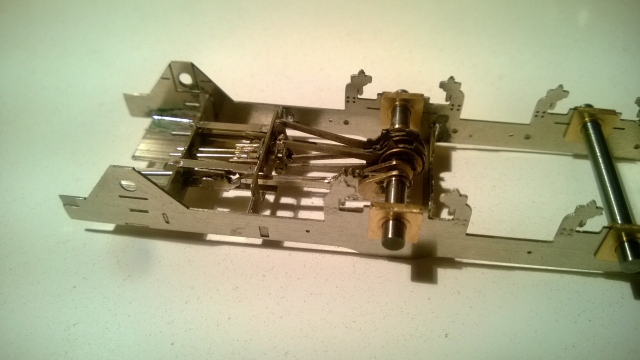
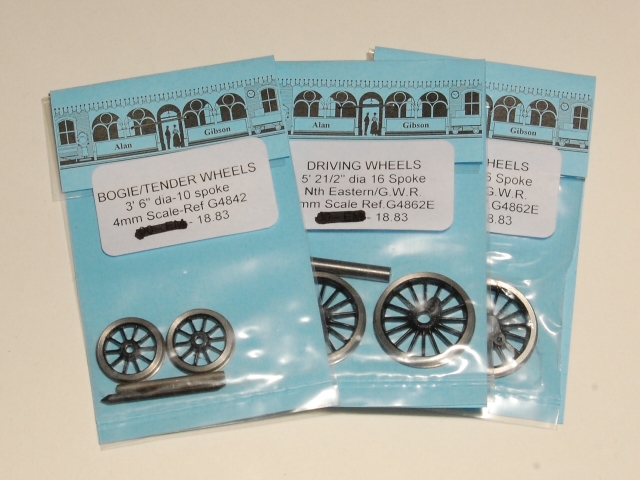
I didn’t have the correct wheels to hand but I did happen to have a few Ultrascale wheels of the wrong type that would do for testing purposes.
Then along came Warley...
I am always trying to improve my modelling skills and if I did that paint job by hand, it would be the most complicate I have ever done. I would ideally like to get onto one of Ian Rathbone’s hobby holidays courses. But they seem to be few and far between these days. I am ok with airbrushing and I can do a pretty good job a panelled coach. But the art of using the bow pen is still something that eludes me.
To be continued....
If you have anything more than a passing interest in the GWR Broad Gauge, Then I would thoroughly recommend the Broad Gauge Society. They are defiantly a niche organisation! but the sheer wealth of information is outstanding and a few of the members are always willing to help.